1/10

2/10
3/10

4/10
5/10

6/10

7/10

8/10

9/10

10/10
95%
49
By Lacey (Lace Bakes)
Sourfaux Pizza Dough (uses yeast)
18 steps
Prep:24hCook:8min
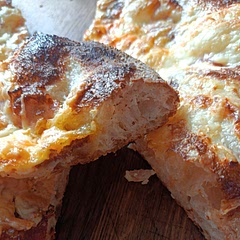
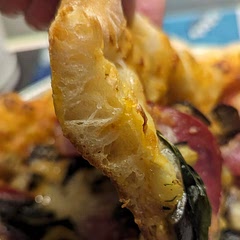
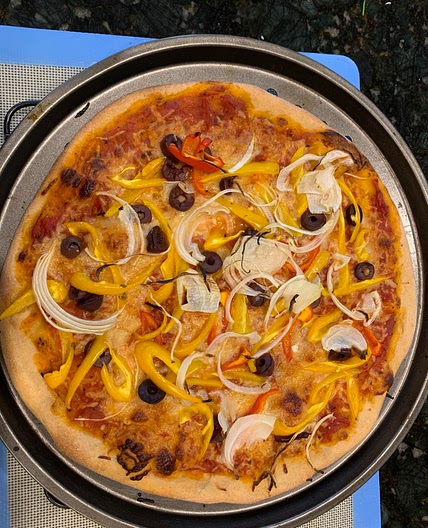
No sourdough starter? No problem. You can still achieve a flavourful pizza crust with lots of airy bubbles.
In this recipe, I apply techniques that are normally used when working with sourdough, except in this recipe we will use a small amount instant yeast to allow for the flavour of the dough to develop over time.
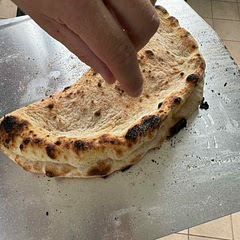
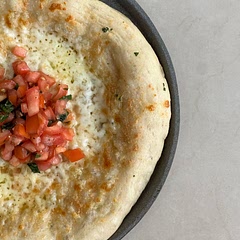
A step-by-step video tutorial for this recipe can be found on my Instagram and TikTok pages - you can access the tutorial by clicking on the photos for this recipe.
Updated at: Fri, 19 Jan 2024 14:31:07 GMT
Nutrition balance score
Good
Glycemic Index
71
High
Glycemic Load
85
High
Nutrition per serving
Calories606.9 kcal (30%)
Total Fat4.7 g (7%)
Carbs119.6 g (46%)
Sugars2 g (2%)
Protein22 g (44%)
Sodium1100 mg (55%)
Fiber9.1 g (32%)
% Daily Values based on a 2,000 calorie diet
Ingredients
4 servings
Sourfaux Starter (must mix before making dough)
100gwhite bread flour
or 00 pizza flour
¼ tspdried instant yeast
quick, easy bake, fast action
100gwater
room temperature
Pizza Dough
200gyeast
mixture, use everything you mixed before, it should have risen and developed air bubbles
290gwater
room temperature
¼ tspdried yeast
quick, easy bake, fast action
1 tspextra virgin olive oil
1 tsphoney
450gwhite bread flour
or 00 pizza flour
50gwholemeal flour
/wholewheat, or substitute with more white bread flour
11gfine sea salt
Instructions
For the sourfaux starter
Step 1
About 8-12 hours before you plan to mix your pizza dough, mix together the 100g bread flour, 100g room temperature water and 1/4 tsp instant yeast together until there are no dry patches of flour left. I tend to do this in a lidded jar or bowl, leaving space for it to grow a bit.
Step 2
I usually mix mine the evening before I plan to mix my pizza dough, but if you plan to mix your dough in the late afternoon/evening you can mix the sourfaux starter in the morning. Using slightly warm water will speed up the process of it becoming airy and bubbly.
Pizza Dough
Step 3
1. In a large mixing bowl, or in the bowl of a stand mixer, mix together the sourfaux starter, water, olive oil and honey. Add in the flour, instant yeast and salt and mix dough until well combined. You can mix using your hands or with a stand mixer - either way, just make sure that there are no dry patches of flour.
Step 4
2. Now it’s time for the first proof, which will take about 3-4 hours, but don’t worry…there isn’t much hands on effort over this period of time.
Step 5
3. Once the dough is mixed, cover the bowl with a tea towel or lid and let the pizza dough rest at room temperature for about 45 minutes. At this point you’ll perform the first set of stretch and folds (see my tutorial on Instagram/TikTok for how to do a stretch and fold). You’ll do another two of these stretch and folds, each spaced about 45 minutes to 1 hour apart from one another.
Step 6
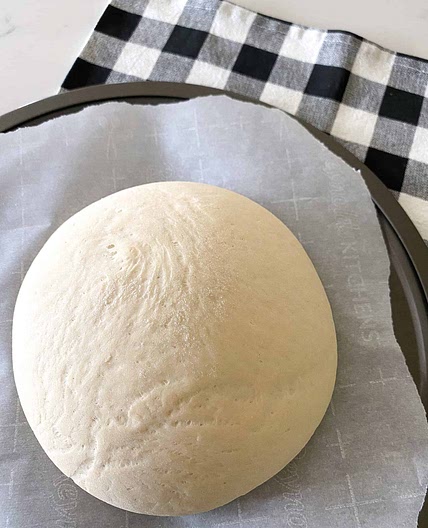
4. When the dough is finished, it will be stretchy, aerated and will have grown in volume by at least a third. This takes about 3-4 hours from the time the dough is was initially mixed.
Step 7
5. After it’s finished proofing, cover the bowl tightly and pop into the fridge overnight. I use a lidded bowl. You can also use plastic wrap, a plastic shower cap, a Tupperware container - anything that will protect the dough from drying out in the fridge overnight. The dough will continue to rise, ferment and develop flavour in the fridge overnight. Just be sure there is a little bit of room for the dough to grow in the bowl or lidded container.
Shaping and Proofing (24-48 hours after mixing dough)
Step 8
1. About 3-4 hours before you plan to make your pizzas, take your dough out of the fridge to divide and shape into balls as demonstrated in my tutorial. This recipe yields 4x 250g pizza dough balls, but of course you can divide into the size that you’d like.
Step 9
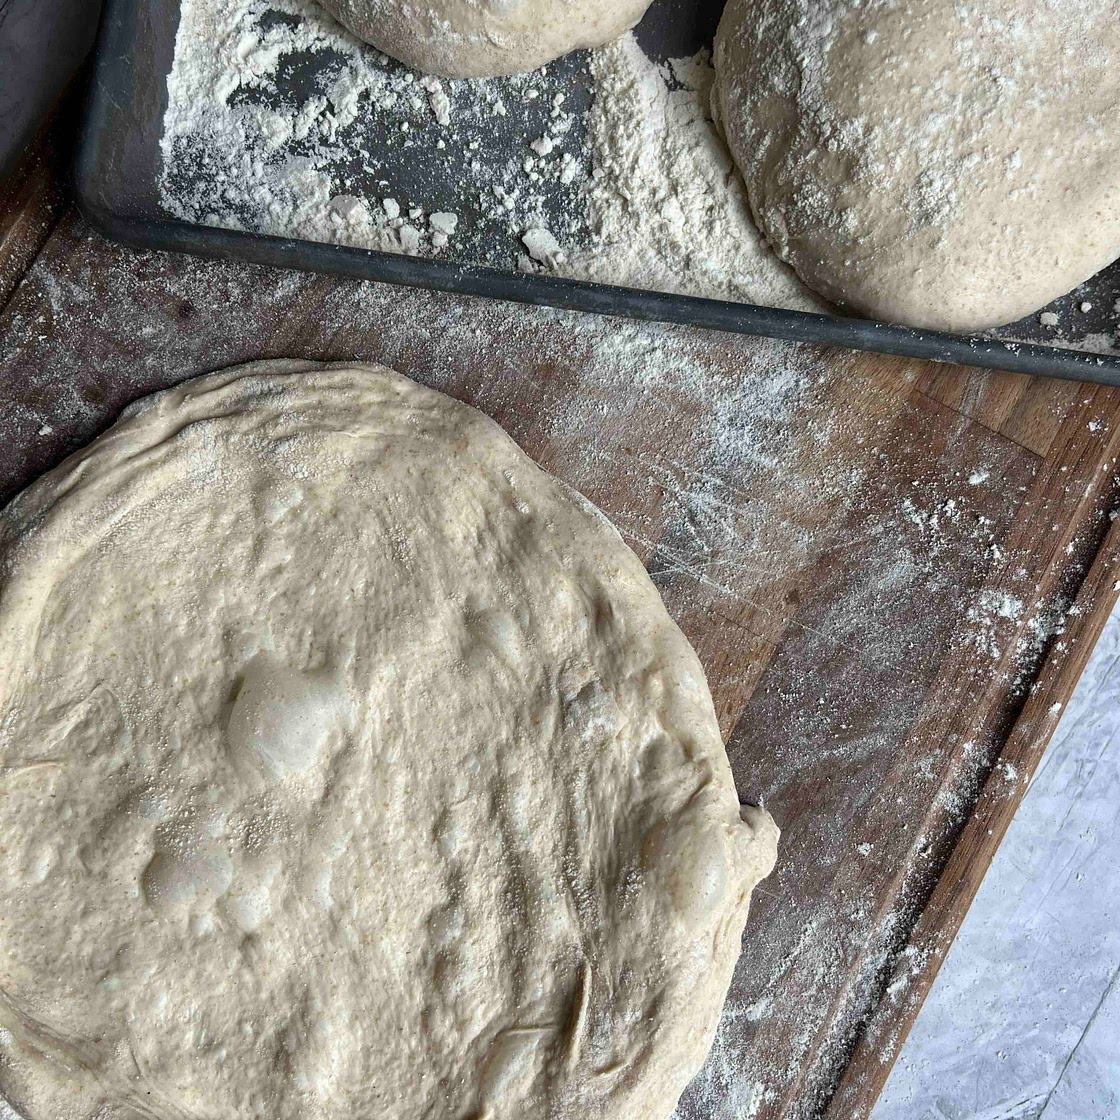
2. Dust a tray liberally with plain flour and semolina, then coat the dough balls in the flour/semolina mix before placing them on the tray. Cover tray with a tea towel, plastic wrap or another tray and proof at room temperature for about 3-4 hours before using. The dough balls will puff up and become easy to stretch out for when it’s time to make your pizzas.
Cooking the pizza
Step 10
1. Preheat your broiler or grill (they mean the same thing, it’s just that the USA/UK call the direct heat source at the top of the oven by different names. I set my broiler/grill to 275C or 525F - so HOT!
Step 11
2. Stretch out pizza dough (see my tutorial for tips) and lay it into a lightly oiled preheated frying pan (28cm/11 inch or larger) on the stovetop. Cook over medium high heat, topping the dough with your choice of sauce, cheese and toppings.
Step 12
3. When the bottom of the crust is golden brown and crispy, remove the pizza from the frying pan and transfer to an oven rack placed in the upper 1/3 of your oven.
Step 13
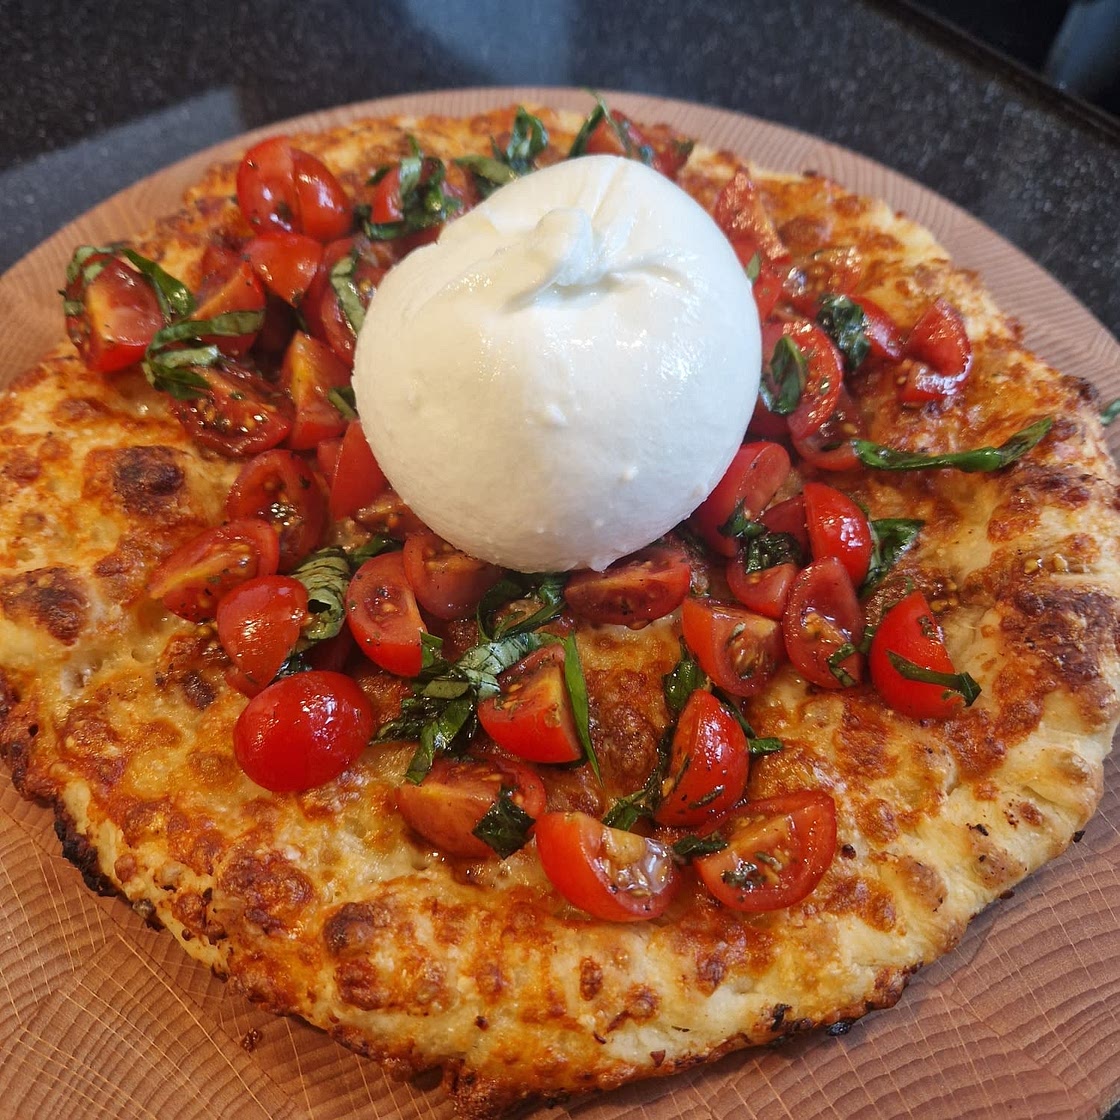
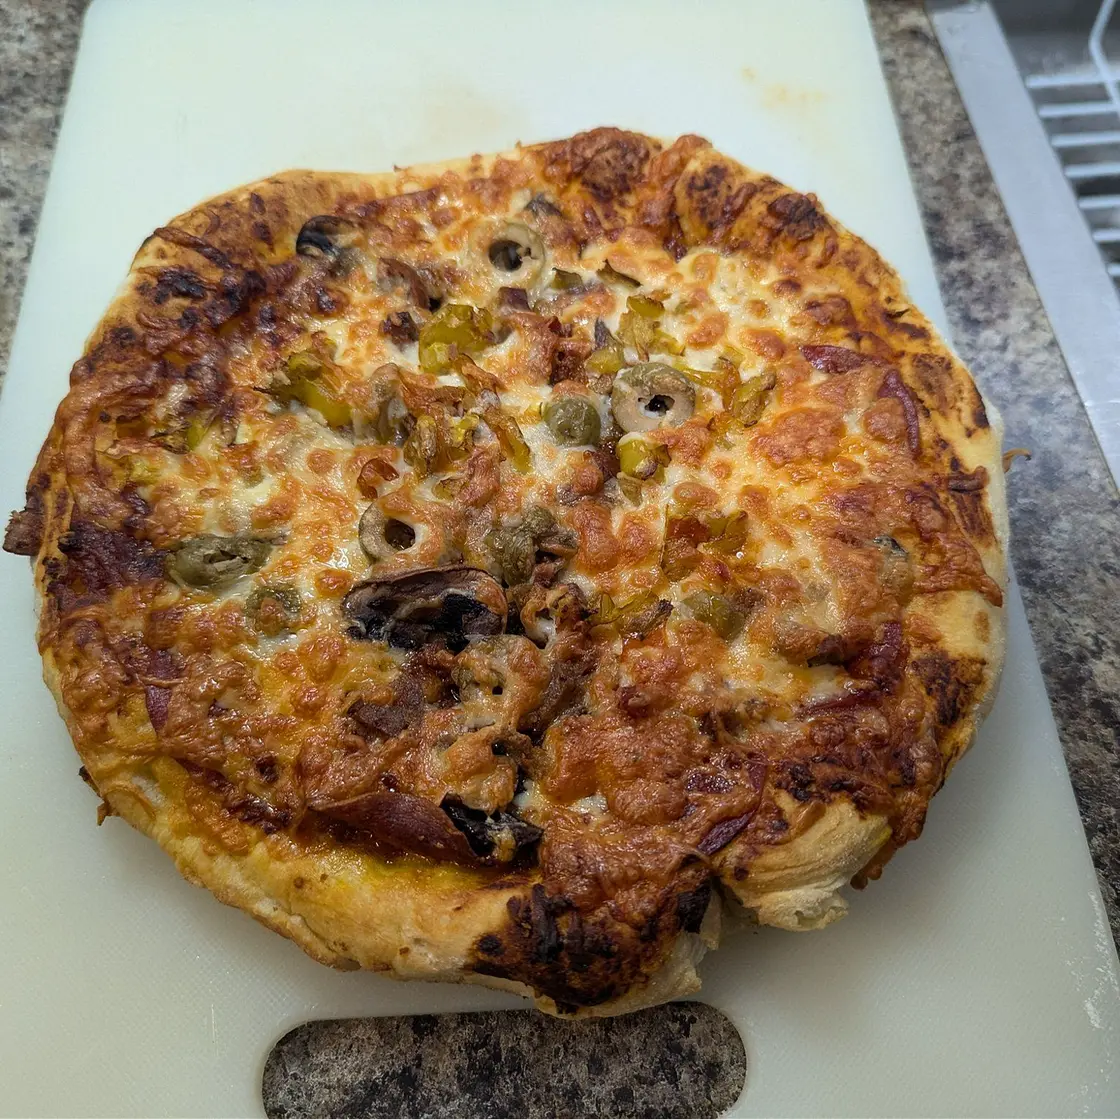
4. The direct heat from the grill/broiler should cook the pizza in 2-4 minutes, watch closely so it doesn’t burn. The crust should be crispy and a light golden brown (potentially with some blackened spots on the bubbles) when it’s finished.
Step 14
5. If you don’t have a broiler, set your oven to its highest heat and transfer it in to the oven from the frying pan once the base is golden brown. It will take a little more time to bake if you’re not using the extreme direct heat from the broiler - 4-7 minutes - keep an eye on it!
Step 15
6. Of course, pizza ovens are brilliant too - I feel like the dough is even better when cooked at such extreme heat - it puffs up much more somehow. I love my Gozney Roccbox! But I do realise not everyone has a pizza oven, so I wanted to show you the best way to get restaurant quality pizzas using a home kitchen set up. I hope you enjoy!
Notes:
Step 16
Digital Scales: You’ll notice I always use a digital scale for my bread related recipes. Measuring flour with measuring cups can vary too much (how tightly the flour is packed, etc) which means the recipe might not be as reliable. Digital scales are inexpensive, easy to use and they help to save you from having to wash up too many measuring spoons/cups - you just measure ingredients right into the bowl. If you plan to start baking your own bread, pizza dough or focaccia, invest in a digital scale to ensure you're getting precise measurements.
Step 17
Freezing pizza dough: pizza dough can be frozen after the pizza dough ball shaping stage. Place each dough ball into individual freezer bags and then pop them into freezer. The day before you plan to use, them take them out of the freezer and place them, still in their freezer bag, into the fridge to thaw overnight. About 4 hours before using them, remove from bag, coat in flour and place on floured tray to proof (same as in main recipe). The dough is best when it’s used fresh but this is a great solution for those wishing to plan ahead or if you want pizza on a whim.
Step 18
Make it vegan: the honey in this recipe can be replaced with a teaspoon of granulated sugar or maple syrup to make this recipe vegan.
View on Click for pizza dough tutorial
↑Support creators by visiting their site 😊
Notes
236 liked
11 disliked
Delicious
Go-to
Crispy
Easy
Fresh


