By Lou Onou
Lou's Crunchy Seeded Homemade Brown Bread (with help from bread machine!)
12 steps
Prep:4h 30minCook:30min
Sugar is a problem in our house due to an unusual allergy, and (if you haven't noticed already) a lot of shop-bought bread contains sugar, so I decided a few years ago to make my own. I have a brilliant Panasonic bread maker, and make three or four loaves a week. I use the dough setting, which does all the hard work, then I turn it into a tin and bake it in the oven. Aside from a few "whoops" moments (once I forgot to add water), every loaf is a delight. I started using the recipes that came with the machine (without sugar), but I have experimented lots to come up with our Weekly Loaf - one that, for me, balances softness with a crunchy crust and lots of nutty tasting seeds.
The "prep" time of 4hr 30 is not hands-on time. It takes minutes to put all the ingredients in to the pan, a few minutes of knocking back later on, and 30 mins of cooking, but that's it.
I have model SD-ZB2512 and use Menu 22, but if you have a different machine, just choose the Wholewheat Dough setting.
Updated at: Thu, 17 Aug 2023 13:06:32 GMT
Nutrition balance score
Great
Glycemic Index
68
Moderate
Glycemic Load
27
High
Nutrition per serving
Calories227.5 kcal (11%)
Total Fat5.9 g (8%)
Carbs39.1 g (15%)
Sugars0.5 g (1%)
Protein6.5 g (13%)
Sodium325 mg (16%)
Fiber5.1 g (18%)
% Daily Values based on a 2,000 calorie diet
Ingredients
12 servings
375gwholemeal bread flour
strong, i recommend canadian
225gstrong white bread flour
i recommend canadian
10gsalt
50gmixed seeds
i use a mix of mix of sunflower, pumpkin, sesame seeds and linseed available from waitrose
10gpoppy seeds
30golive oil
plus a little extra to oil the loaf tin
340mlwater
cold or room temperature
2 tspseasy bake yeast
easy bake in a tin
900gbaking tin
freezer bag
large
food safe clip
knife
sharp
white flour
to dust
Instructions
Step 1
*NOTE: if you want to make this bread, but don't have a bread machine, you can still do it (although it may not turn out quite so fluffy). Mix all the ingredients together in a bowl, cover it with cling film and let it prove in a warm place (or a cupboard) for at least 2 hours), then head to the "Knocking Back" section. Take care when mixing not to let the yeast touch the salt until you're really mixing it together, as the salt will deactivate the yeast and kill it off.
Assembling the ingredients (about 5 hours before you want the bread)
Step 2
Put all the ingredients in your bread pan in the order listed (except the yeast, if your machine has a yeast dispenser) - flour, salt and seeds, fat and liquid.
Step 3
Add the yeast according to your machine's instructions, and run the Wholewheat Dough programme (on my Panasonic SD-ZB2512 machine, it's Menu 22 - this takes 3 hrs 15 mins) - then go and have a cup of tea.
Knocking back and the second prove
Step 4
Pour a little olive oil into your loaf tin (mine is 900g/2lb size), and wipe it all around with a piece of kitchen paper.
Step 5
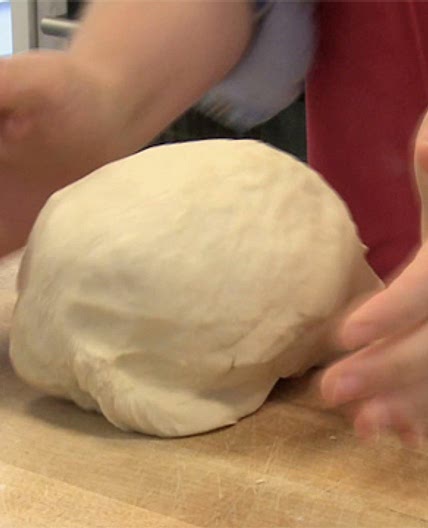
The first proving of the dough will have been done in the machine. When you remove the pan at the end of the programme, you'll see a nice puffy piece of dough. Turn this out onto a very lightly floured surface and knock it back - knead (some people also fold) it for a couple of minutes to push all the air out of the dough.
Step 6
Roll your dough to roughly smooth it down, and shape it into a sort of oval sausage shape. Press it into the oiled loaf tin and squash it down to roughly flatten it in the tin. Use the side of your hand to press a "line" down the middle of the loaf and create a sort of rough depression - your loaf will rise again in in the tin and this will help prevent it from ballooning too much in the middle.
Step 7
Put the whole tin into the large freezer bag, leaving some air in the bag so that the bag doesn't stick to the dough, and clip it shut. Place the bagged tin in a dark warm-ish place (a cupboard is fine) and leave it for about an hour. Set a timer for 45 minutes. *NOTE: proving time can depend on temperature and even altitude. If you have a warming drawer, or if it's even a really hot day, you might find it needs a little less time to prove. It's ready to go in the oven when the dough has risen and shows a gentle dome arcing over the top of the tin. If it's flat and level with the side of the tin, check it again after another 10-15 mins (and so on...)
Baking the bread
Step 8
When your 45 min timer goes off, turn your oven on to about 220C (200C fan, and let it heat up for about 15 mins. *NOTE: this temperature is based on my oven, which I know tends to run hotter than others I've had. Everyone's is different, so you may find you need to experiment 10 or 20C here or there until you get it as liked.
Step 9
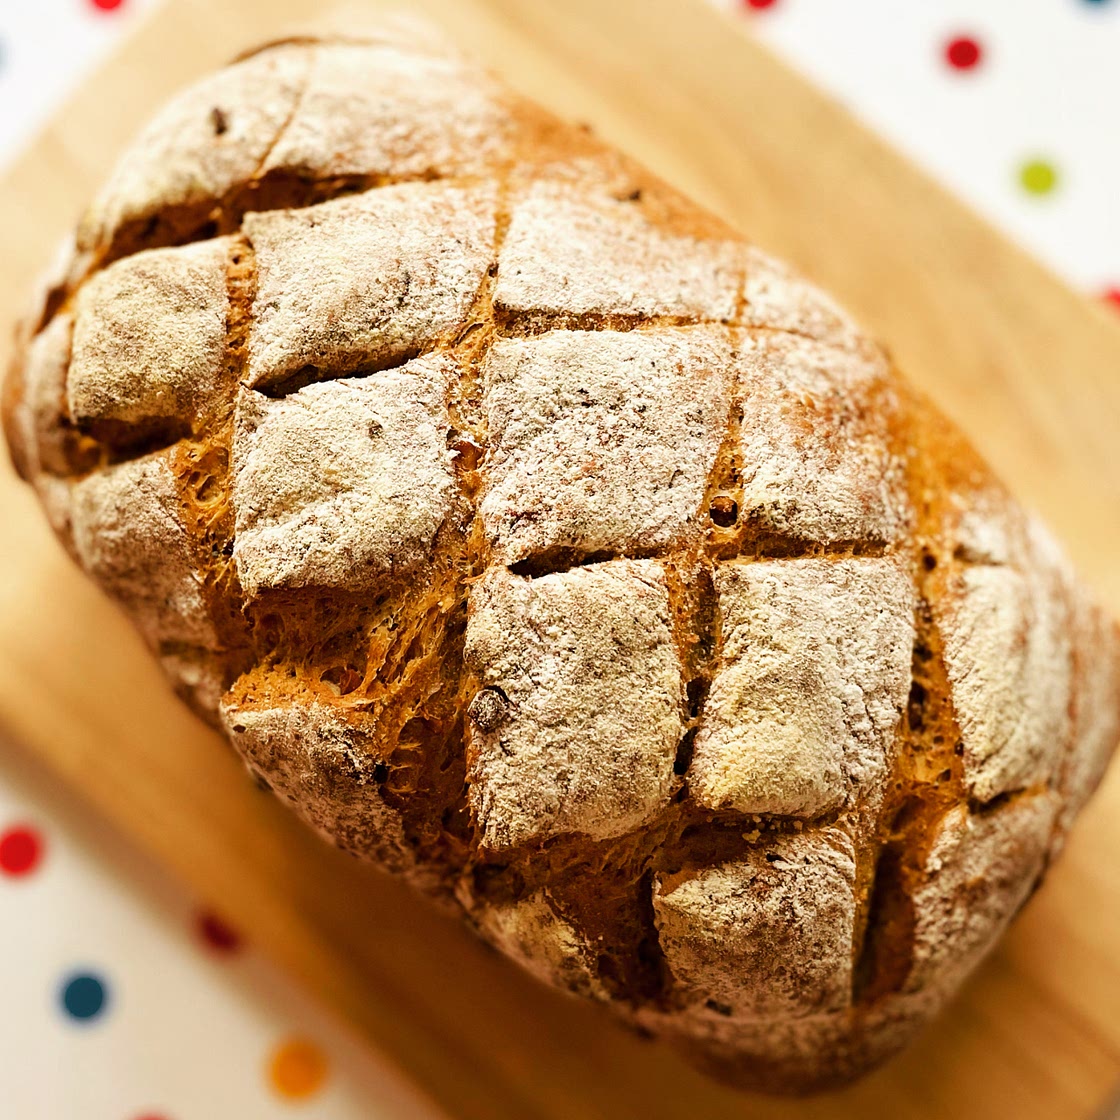
When this 15 mins is up, the oven is nice and hot, and you've proved your dough for about an hour, take the dough tin out of the bag, and dust a little flour over the top. I use a flour shaker, but you can use a sieve or even a tea strainer if you don't have one.
Step 10
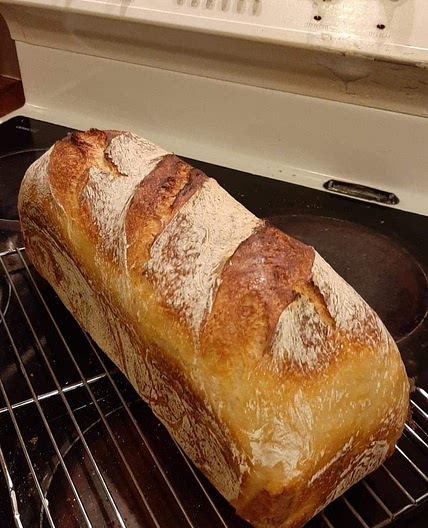
It's important to dust the flour on to the bread before scoring it, otherwise the knife will stick to the dough. Take a sharp knife and score the bread diagonally all the way across the top. If you like, turn the tin and do it the other way too so that it makes little diamond shapes across the top.
Step 11
Put the bread into the oven and bake it for about 30 mins, turning it half way to achieve an even bake.
Step 12
When it's done, leave it in the tin for a couple of minutes to cool then turn it out on to a stand to cool completely. (It will be delicious a little warm, but cut too soon when hot and the bread will crumble!). Enjoy it!
Notes
2 liked
0 disliked
Crispy
Delicious
Easy
Fresh
Go-to
There are no notes yet. Be the first to share your experience!
