1/10
2/10
3/10

4/10
5/10
6/10
7/10
8/10
9/10
10/10
90%
27
By Lacey (Lace Bakes)
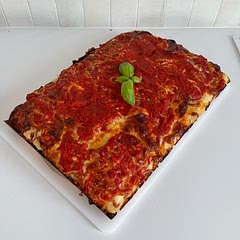
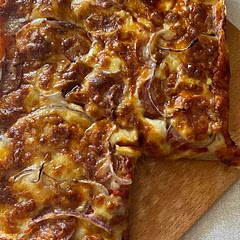
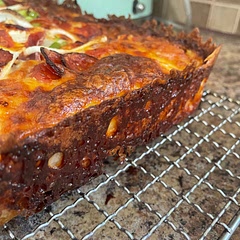
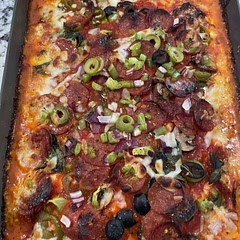
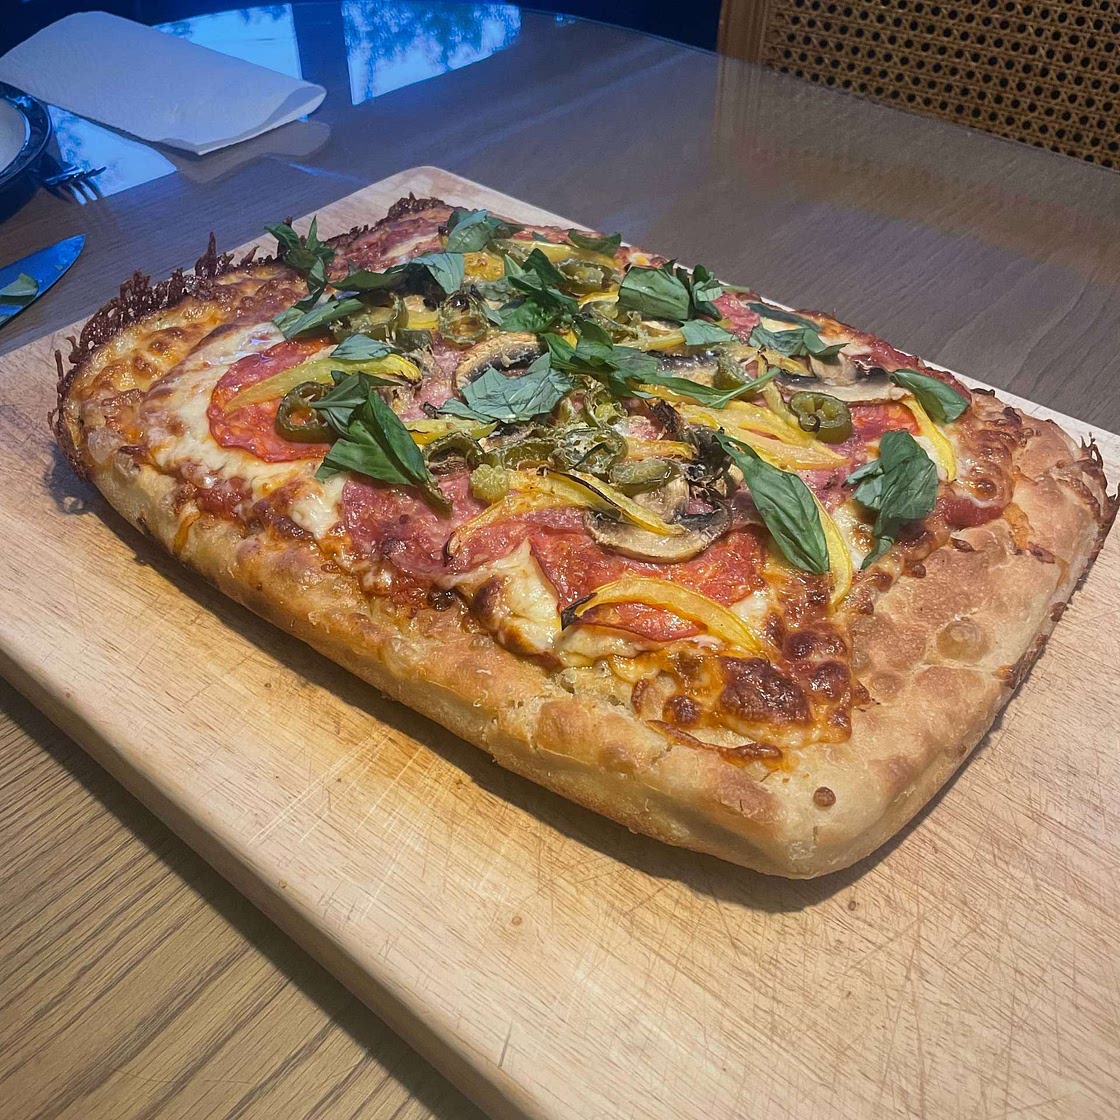
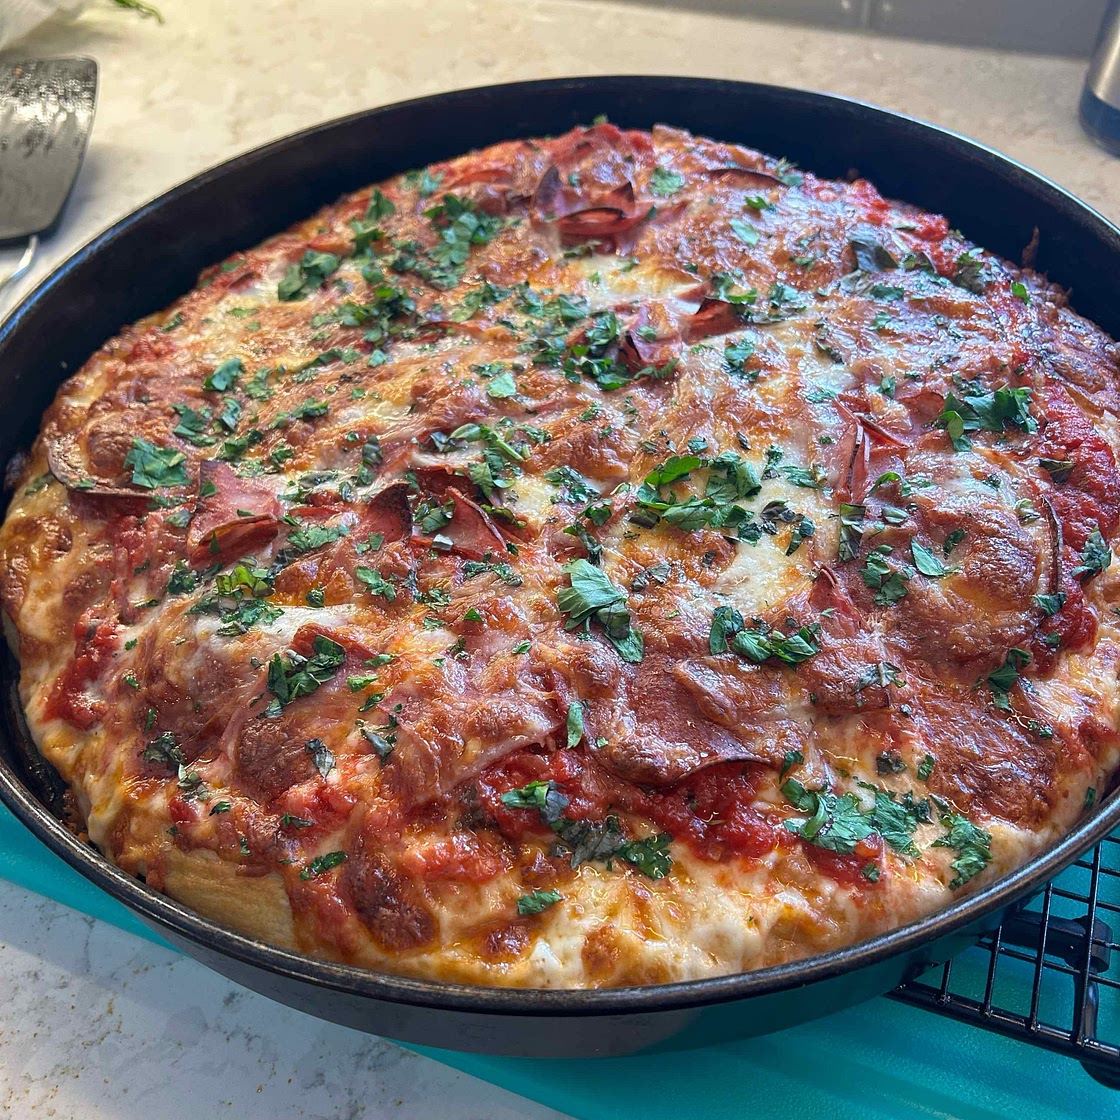
Detroit-Style Focaccia Pizza with Crispy Cheese Crust
17 steps
Prep:2hCook:25min
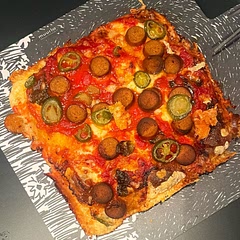
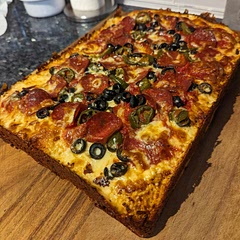
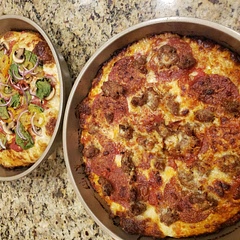
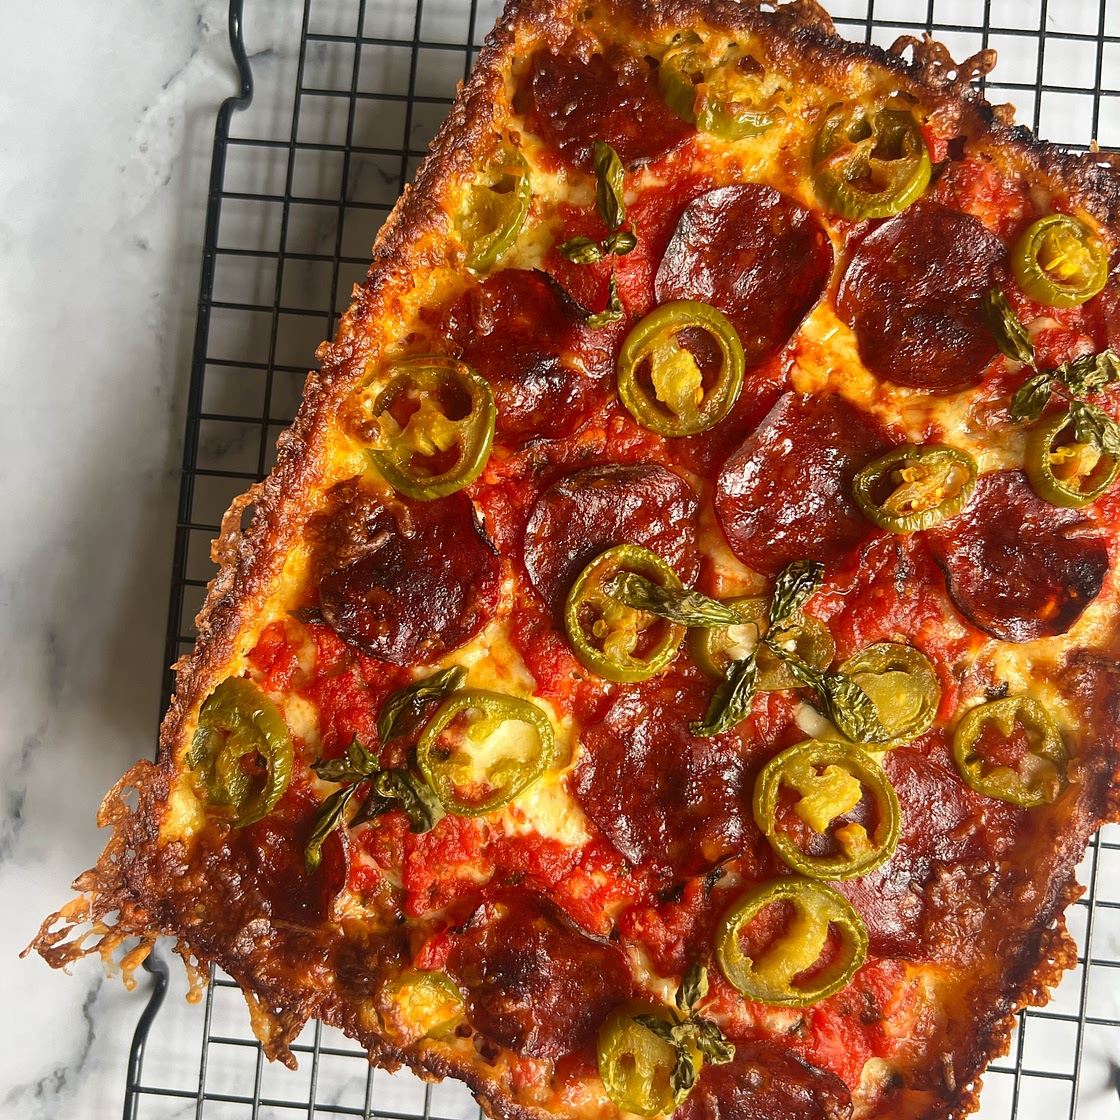
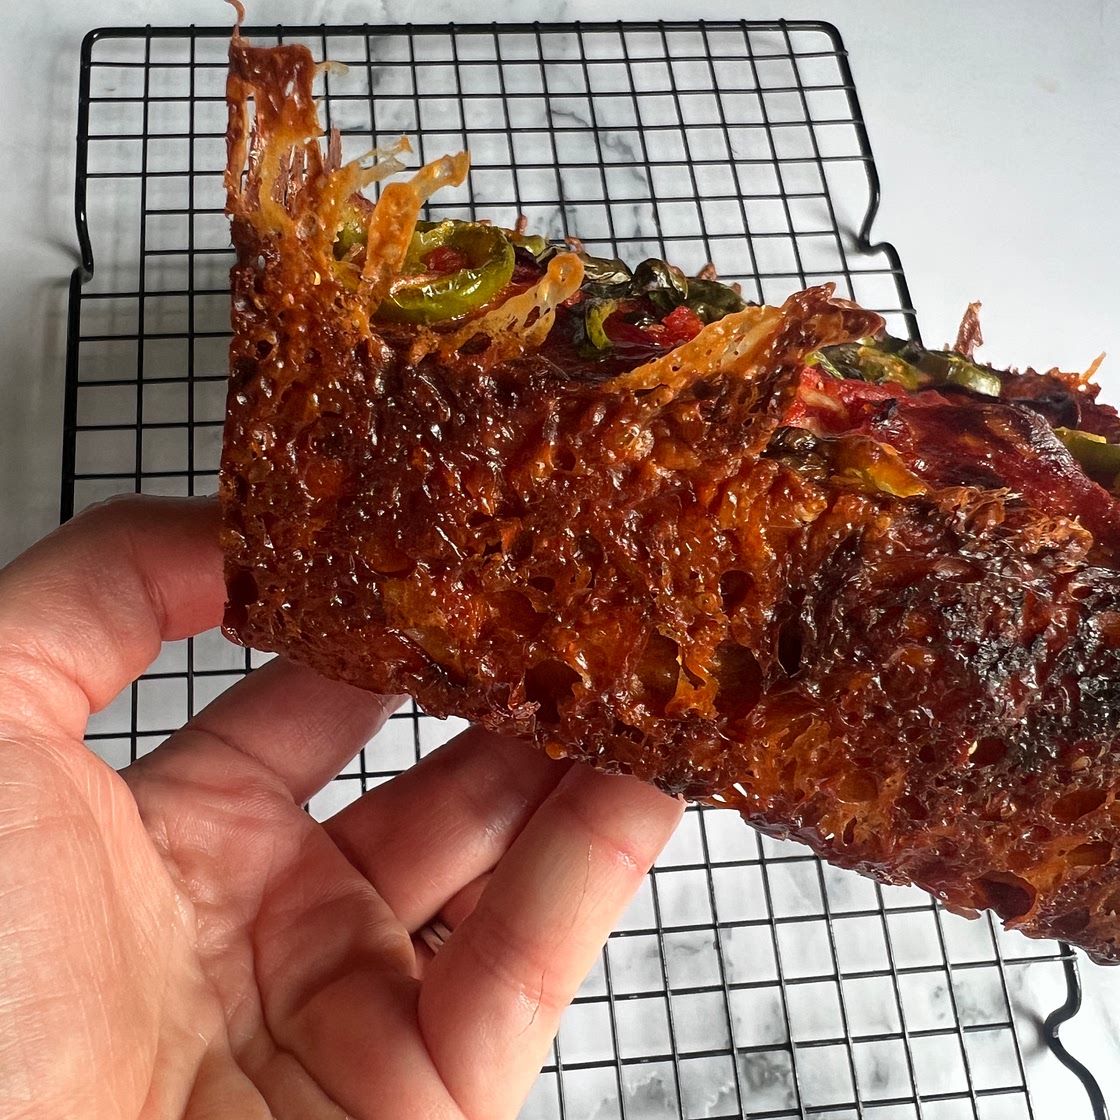
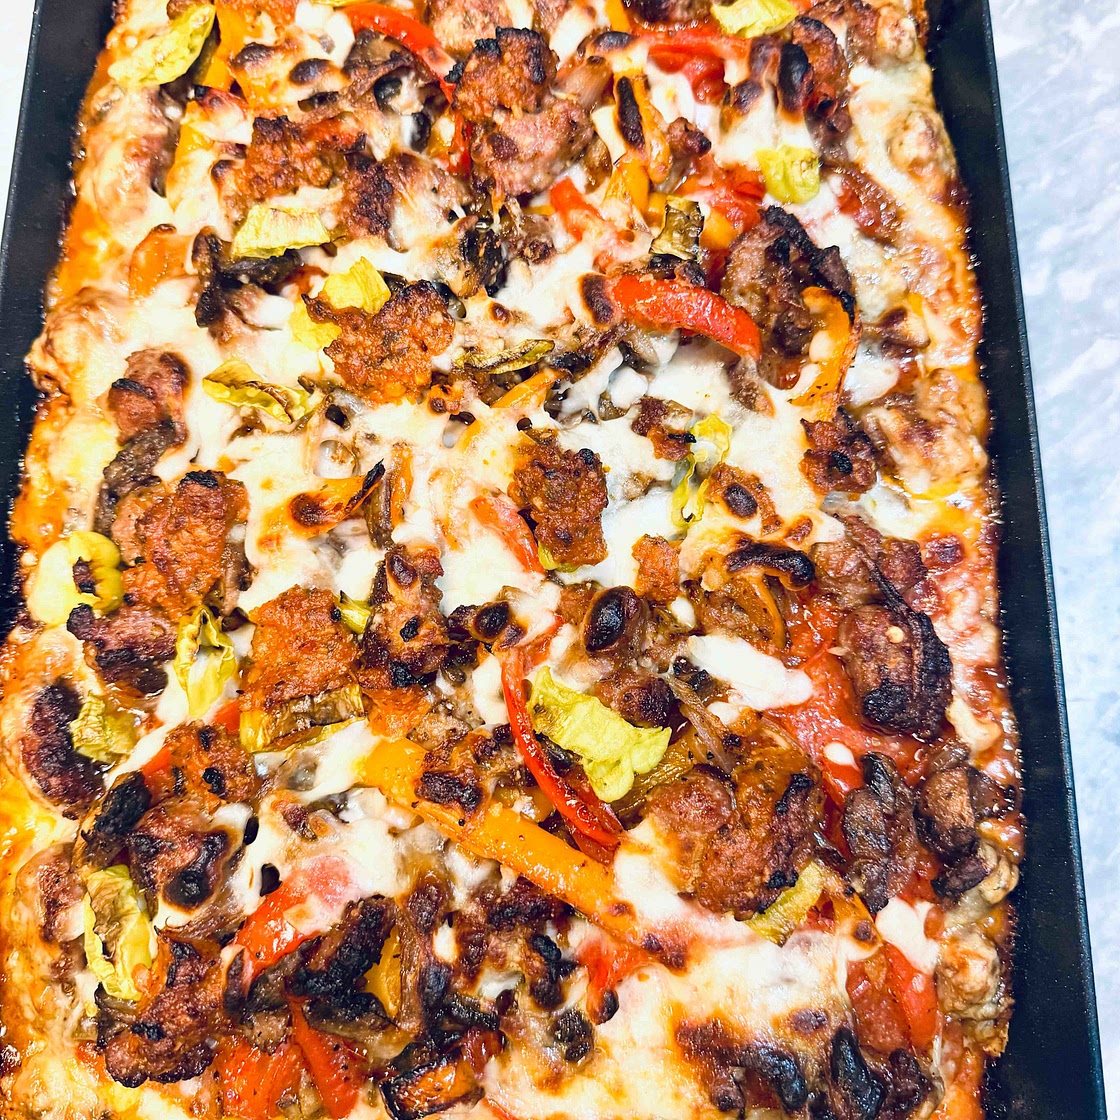
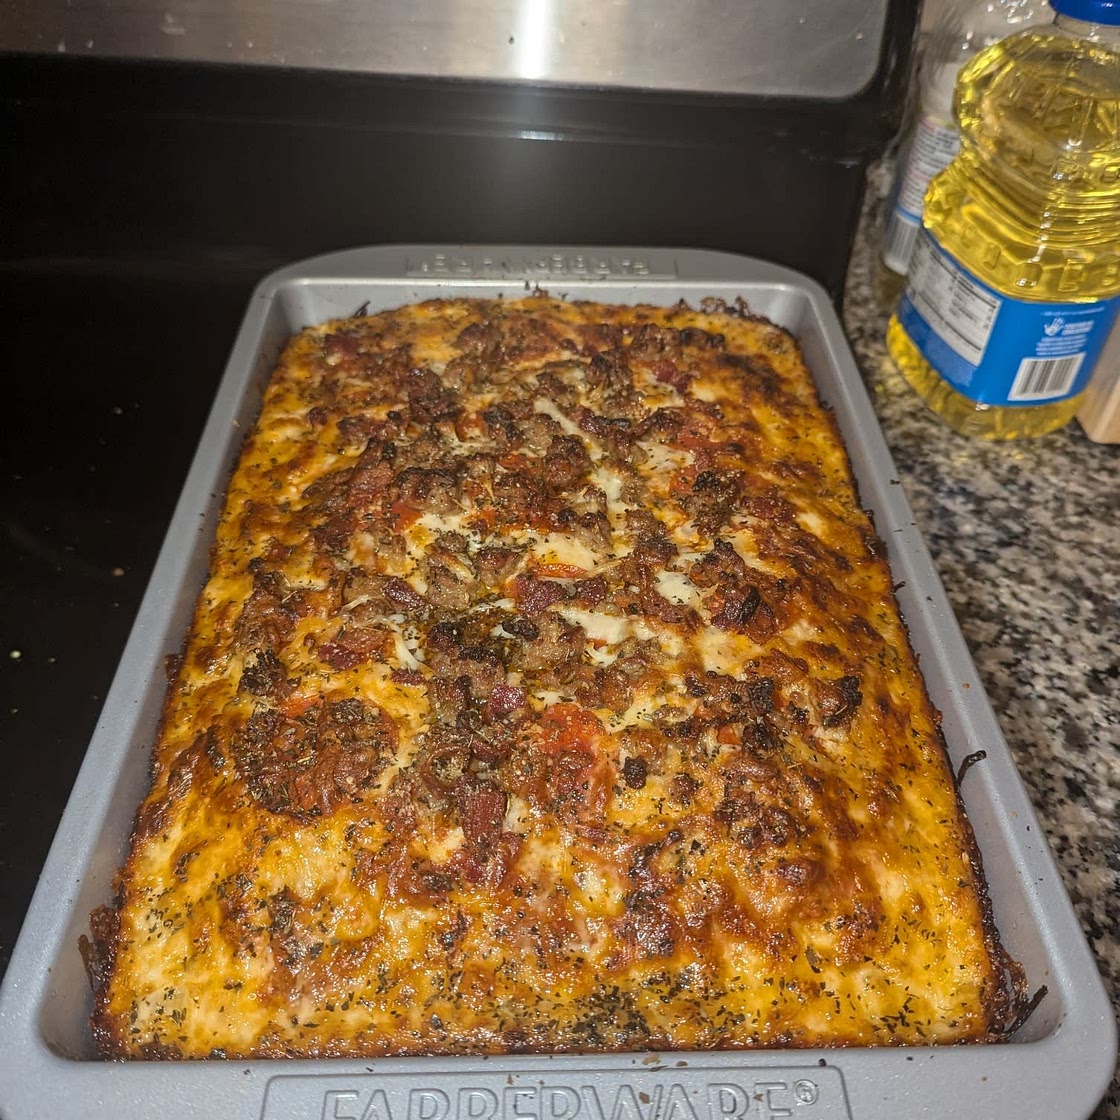
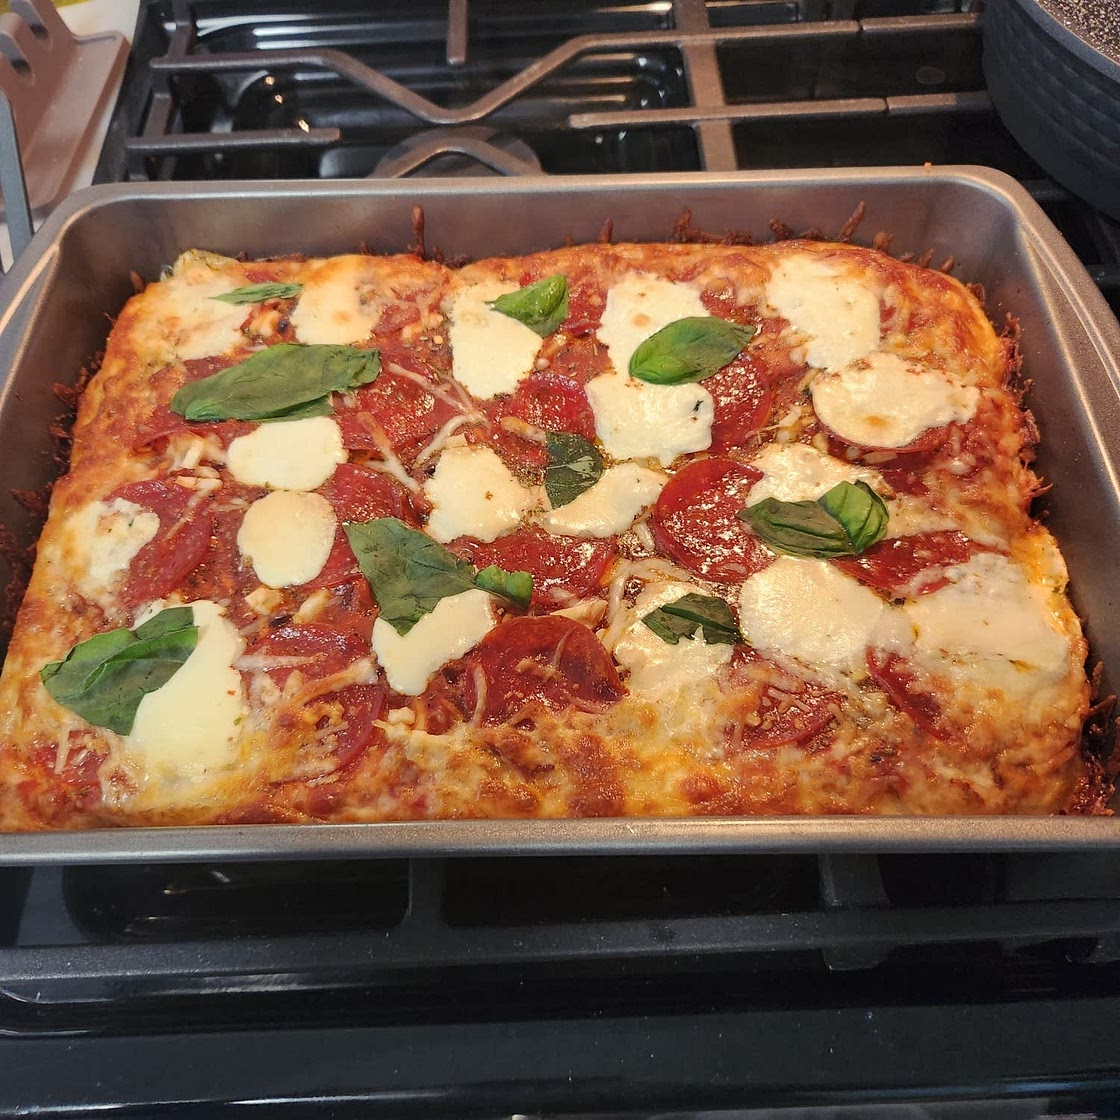
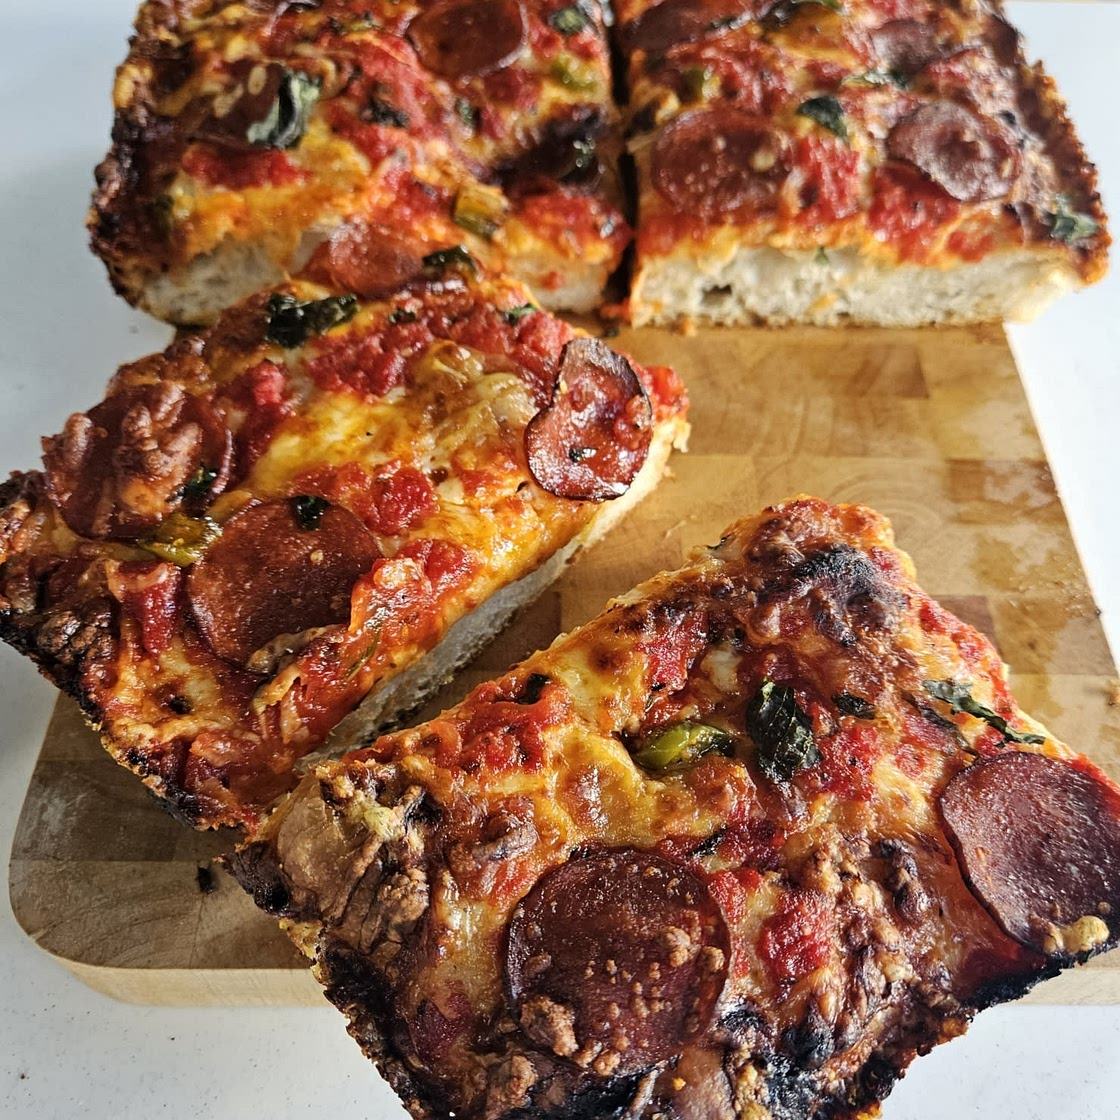
So many of you have asked if you can use my focaccia dough to make pizza...the answer is YES, but the dough is far too wet for a traditionally shaped pizza. Cue this Detroit-style pan pizza with the most to-die-for crispy cheese crust! My focaccia dough recipes (sourdough or yeasted) can be found on my Whisk profile or in the Lace Bakes community on Whisk.
Updated at: Tue, 28 Nov 2023 18:07:06 GMT
Nutrition balance score
Uh-oh! We're unable to calculate nutrition for this recipe because some ingredients aren't recognized.
Ingredients
10 servings
1batch of yeasted focaccia dough
or sourdough, recipes can be found on my Whisk profile or in the Lace Bakes Community on Whisk
550gshredded cheese
blend of mozzarella and white cheddar best
400gpizza sauce
my cooked pizza sauce recipe can be found on my profile and in the Lace Bakes Community on Whisk
butter
to line pan
extra virgin olive oil
to line pan
Optional toppings
Instructions
Notes on baking pan
Step 1
You'll need a high-sided, METAL baking pan for this recipe. The high sides are important as they will contain all the toppings and allow for the crispy cheese crust to develop. The pan should measure AT LEAST 9x13inch (23x33cm) and up to 10x16inch( 25x38cm) or even a 12x12inch (30x30cm) square pan would work here. The smaller the pan, the thicker your deep dish pizza will be, the bigger the pan, the thinner it will be. If you only have a smaller pan and wish for a thinner crust, you can always siphon off some of the focaccia dough from the batch before you proof it in the pizza pan. The siphoned-off portion can be baked separately as a mini focaccia in a loaf pan or very small baking tray.
Notes on cheese
Step 2
I love a combination of mozzarella and white cheddar on Detroit-style pizza. If at any point you feel the pizza or the sides need more cheese than the recipe has called for, please add more - different tray sizes with require different amounts of cheese! Always measure cheese with your heart ❤️
Proof the focaccia dough
Step 3
Coat the pan with a thin layer of butter, then add a drizzle of extra virgin olive oil in the pan and coat the all sides evenly.
Step 4
Place focaccia dough into pan (as instructed in focaccia recipe), cover pan and let proof at room temperature for two hours.
Dimple and par-bake dough
Step 5
Near the end of the proofing time, preheat oven to 235C/455F. Place the baking rack near the bottom of the oven so the bottom of the dough will crisp up nicely.
Step 6
If the dough hasn't spread fully in the pan then use your hands to spread the dough out into an even layer across the surface of the baking pan. Now oil your fingers, and dimple the dough thoroughly. Pop any big bubbles that appear at the surface - we like to keep these bubbles intact for normal focaccia, but we are looking for a more uniform textured dough here.
Step 7
Place pan into oven and bake for ten minutes. The top should just be starting to show a little browning, and the bottom should be starting to turn a light golden brown.
Topping the pizza
Step 8
While the pizza base is baking, prepare your toppings. Shred your cheese (if you haven't bought pre-shredded), slice your other toppings and get your pizza sauce ready.
Step 9
If you're making homemade pizza sauce (cooked sauce is better than raw sauce on this pizza), you'll want to start making this as the dough is finishing proofing so it's ready in time. See my Whisk profile or the Lace Bakes community on Whisk for my 'Simple Cooked Pizza Sauce' recipe.
Step 10
Once you've removed the pizza base from the oven, scatter the majority of the cheese evenly over the top of the par-baked focaccia. Reserve about a 3/4 cup/90g of shredded cheese for later.
Step 11
Spoon as much pizza sauce as you'd like onto the middle section of the pizza and use the back of your spoon to spread it around. You can do stripes or cover the entire central area of the pizza with sauce, so long as you take care in leaving a 1/2 inch border of cheese around the border of the pan (no sauce in this border area).
Step 12
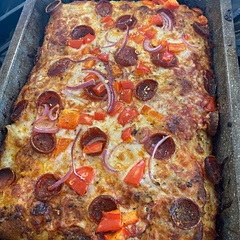
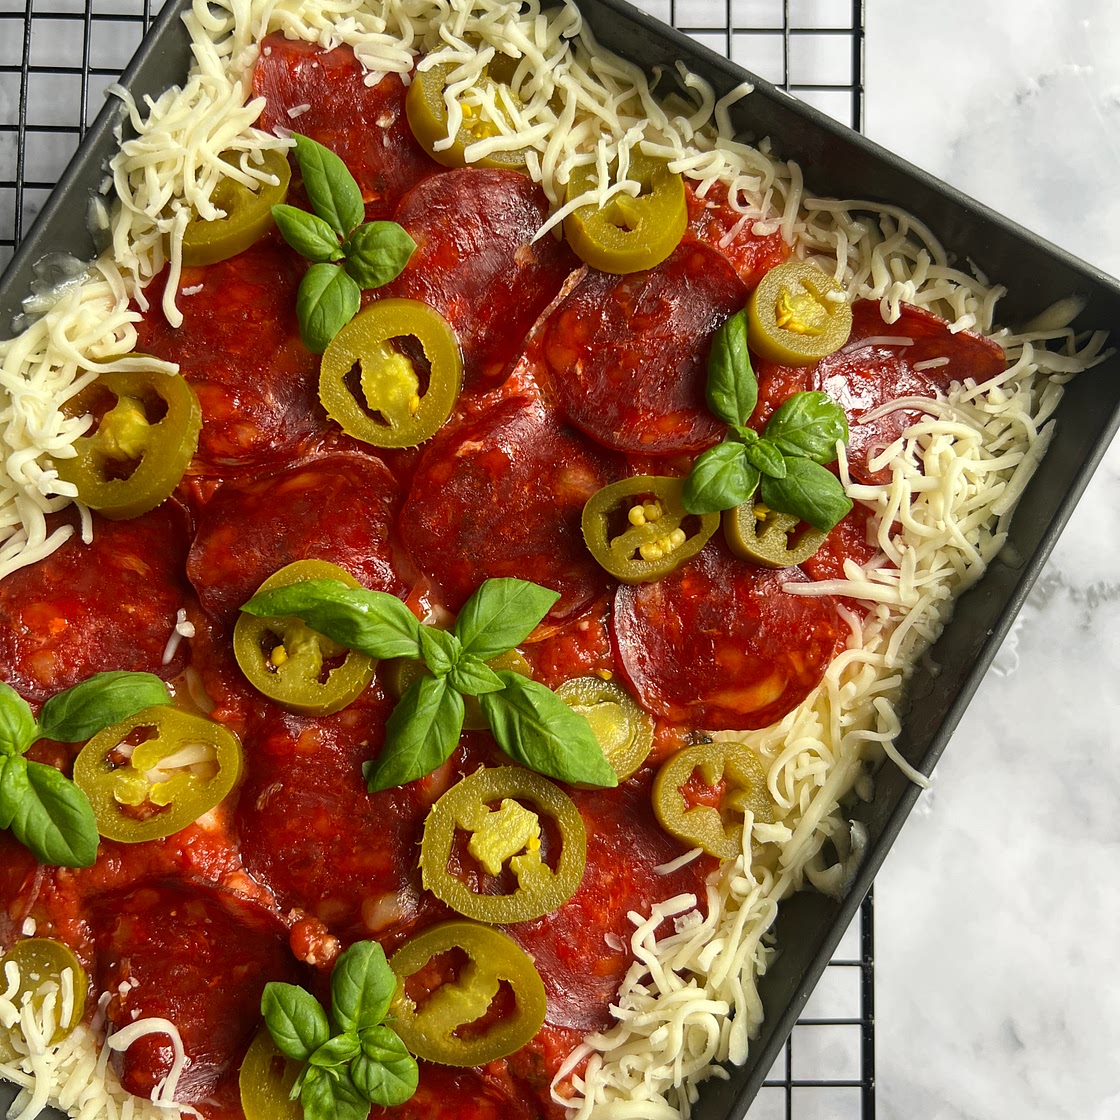
Now top the saucy section of the pizza liberally with your toppings of choice.
Step 13

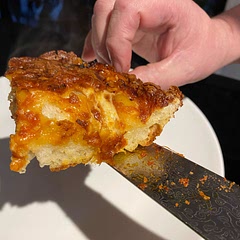
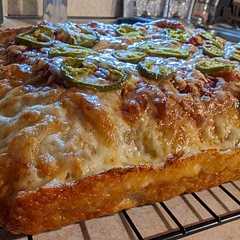
Take the reserved 3/4 cup (90g) of cheese and sprinkle it neatly around the border of the pan. This is what is going to help ensure you get a crispy, cheesy crust...it sinks down into the sides of the pan as it bakes.
Finish baking pizza
Step 14
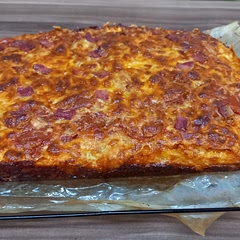
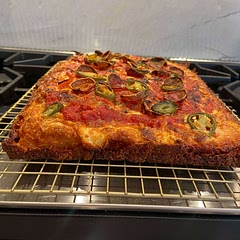
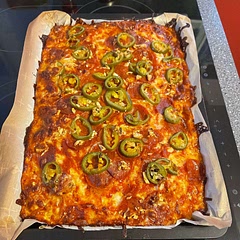
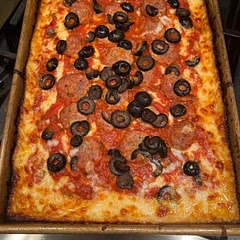
Return the pizza back into the oven for an additional 12-16 minutes. You'll know its ready when the edges of crispy cheese around the pan have gone a dark golden brown colour and the toppings should be starting to crisp up as well.
Step 15
Remove from oven and place tray onto a cooling rack for 5 minutes. Now run a butter knife around the perimeter of the pan to loosen the crispy cheese crust from the pan. Once it's loose, remove the pizza from the pan using a large spatula (or two!).
Step 16
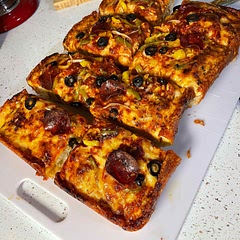
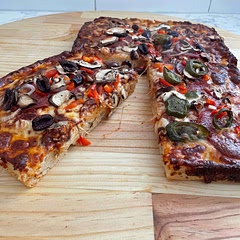
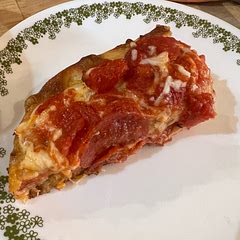
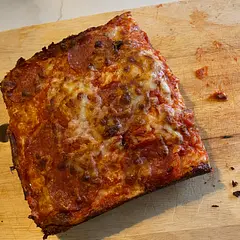
The rule here is that every slice needs a bit of that crispy cheesy crust, so the best way to cut it is to slice it down the middle lengthways, and then cut each half into the slice sizes you desire - a 9x13inch tray will yield 8-10 square slices, depending on how big you want them.
Step 17
Be warned, there may be some fights over those corner slices... but at least there are four of them!
Notes
90 liked
10 disliked
Delicious
Go-to
Easy
Crispy
Makes leftovers


