By Rachel Rasmussen
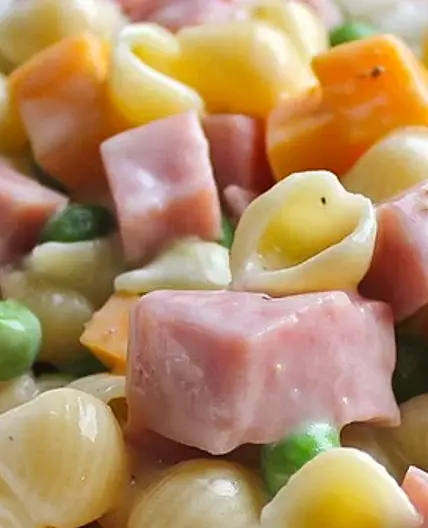
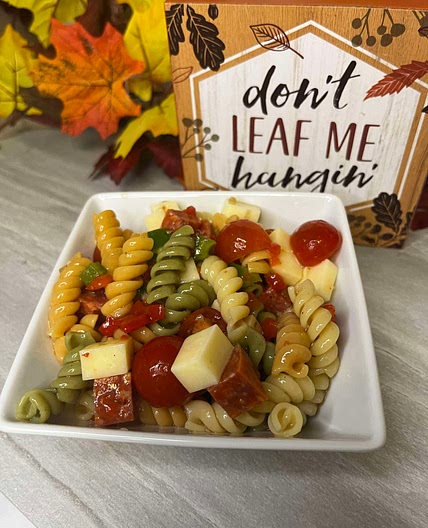
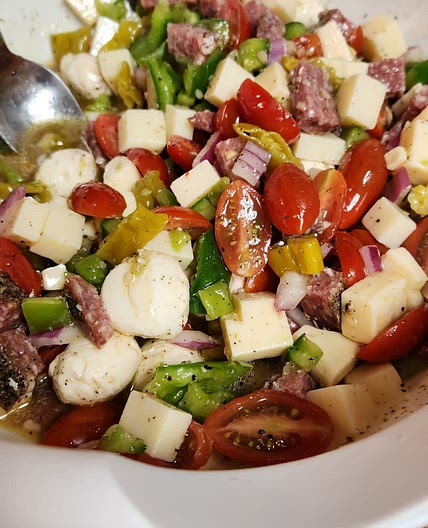
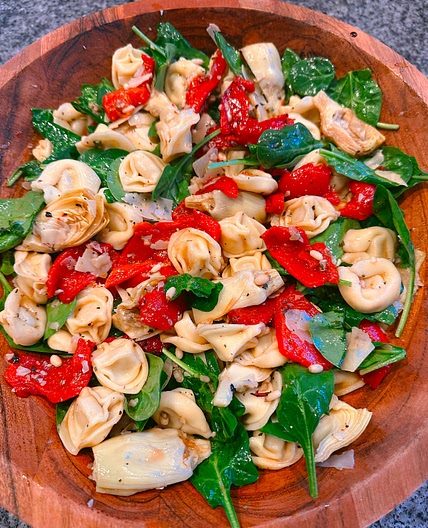
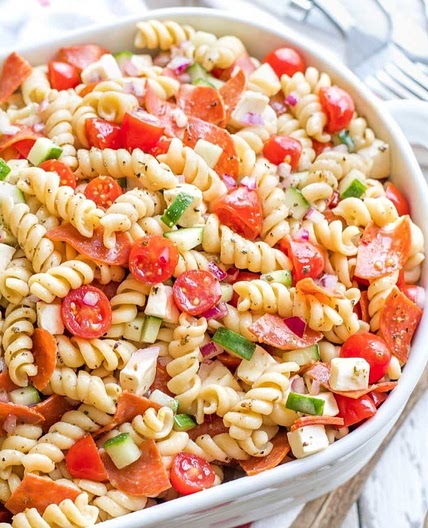
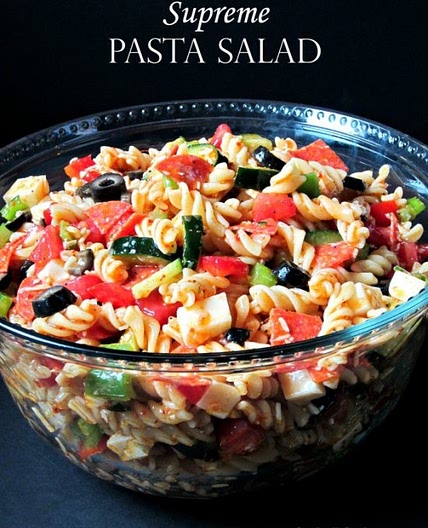
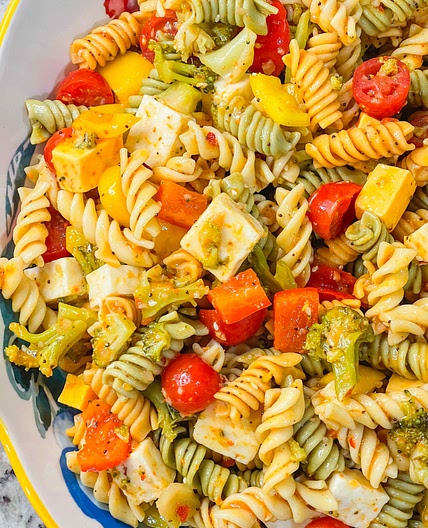
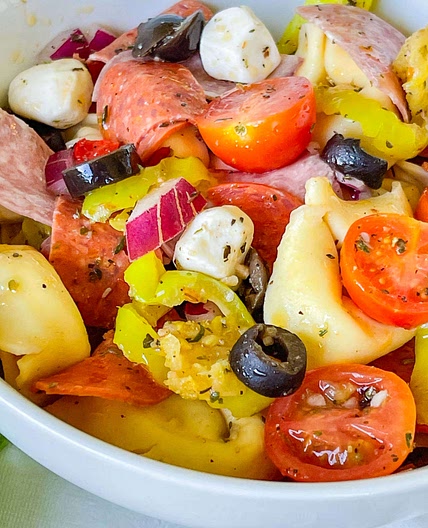
Randy's Pasta Salad
8 steps
Prep:30min
Thanks to my dad, Randy Hellewell, for this recipe. This salad is popular at all or family gatherings. It is delicious and also quite versatile. The vegetables are easily customizable, and the cheese can be ommitted for a dairy free version.
Updated at: Sat, 05 Jul 2025 13:54:05 GMT
Nutrition balance score
Unbalanced
Glycemic Index
51
Low
Glycemic Load
12
Moderate
Nutrition per serving
Calories338.3 kcal (17%)
Total Fat23.3 g (33%)
Carbs23.2 g (9%)
Sugars2.3 g (3%)
Protein9.8 g (20%)
Sodium406.6 mg (20%)
Fiber1.5 g (5%)
% Daily Values based on a 2,000 calorie diet
Ingredients
16 servings
For the Salad
16 ouncesrotini pasta
garden
4stalks celery
diced
1red bell pepper
small, diced
1green bell pepper
small, diced
2 bunchesradishes
sliced
8 ouncescheddar cheese
diced
8eggs
hard boiled
paprika
optional
For the Dressing
Instructions
Step 1
The eggs can be hard boiled then peeled and rinsed a day ahead of time. Store in the fridge until needed.
Step 2
Cook the pasta according to package directions. Once pasta is tender, drain, rinse with cool water, and chill in a large mixing bowl in the refrigerator.
Step 3
Meanwhile, prepare the vegetables, then add them to the bowl with the pasta. Next, dice the cheese and add it to the bowl as well.
Step 4
In a separate medium bowl, add the dressing ingredients and mix well. Taste, and adjust as needed. If the other flavors are too strong you may need to add more mayonnaise (I almost always do). Note that the dressing will taste a bit salty by itself. Once mixed in the salad the flavor will be more balanced.
Step 5
Add the dressing to the bowl of pasta and vegetables and gently mix well.
Step 6
Once the dressing is mixed in, dice 6 of the eggs and add them to the bowl; gently stir until mixed in. Do NOT add the eggs until AFTER you have added the dressing, or the yolks will become a crumbly mess.
Step 7
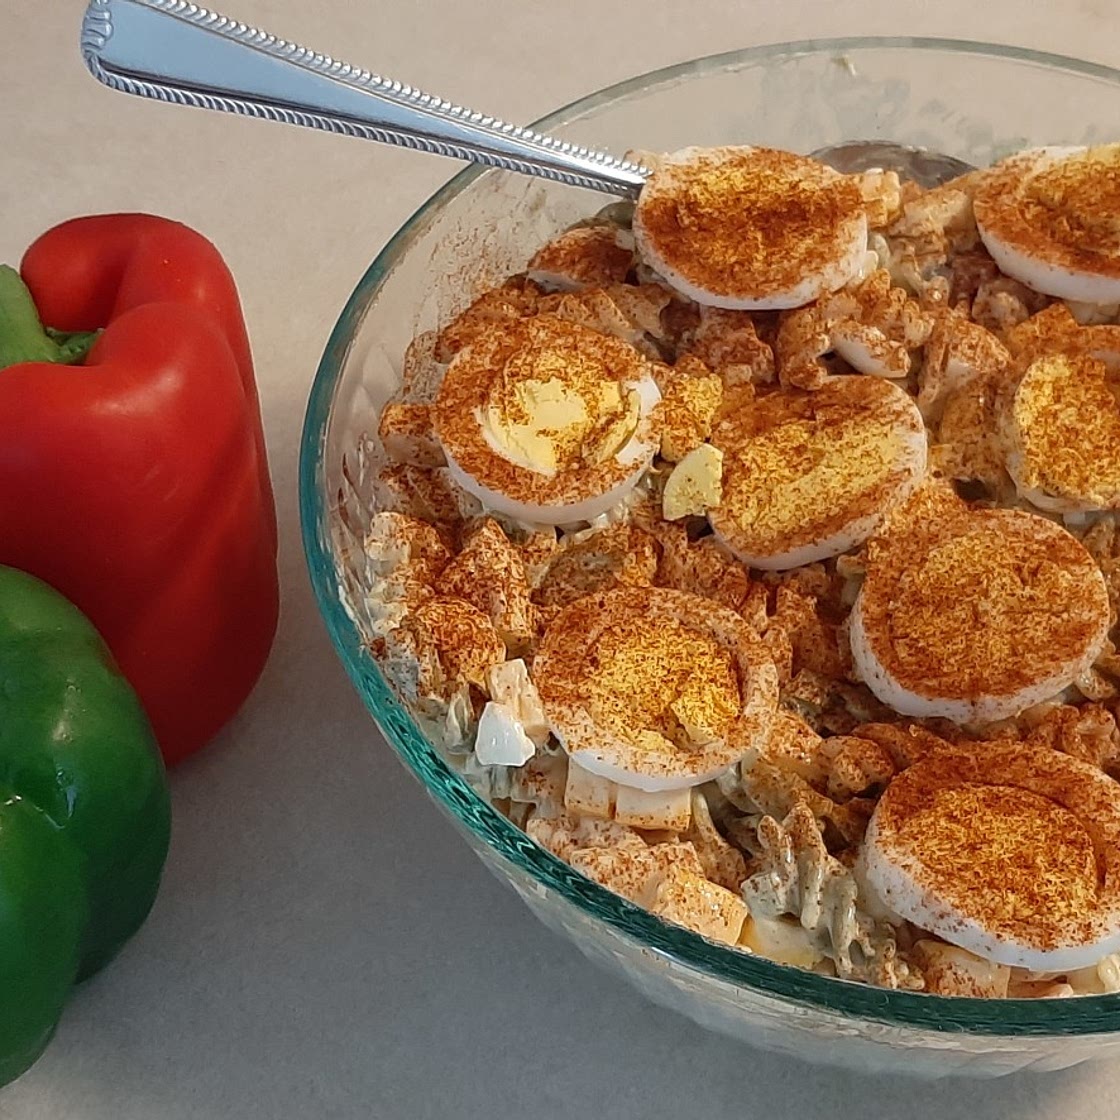
Pour the salad into a nice serving dish. Gently slice the remaining two eggs onto the top of the salad. Garnish with paprika, if desired.
Step 8
Chill in the fridge until ready to serve. Enjoy!
Notes
1 liked
0 disliked
There are no notes yet. Be the first to share your experience!