1/2
2/2
84%
5
By Lou Onou
Old fashioned English Steak & Ale Pie
17 steps
Prep:30minCook:2h 40min
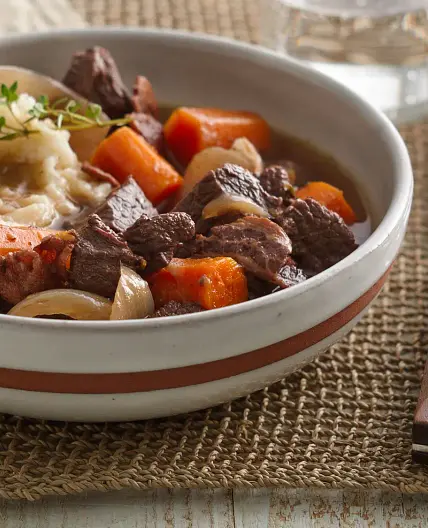
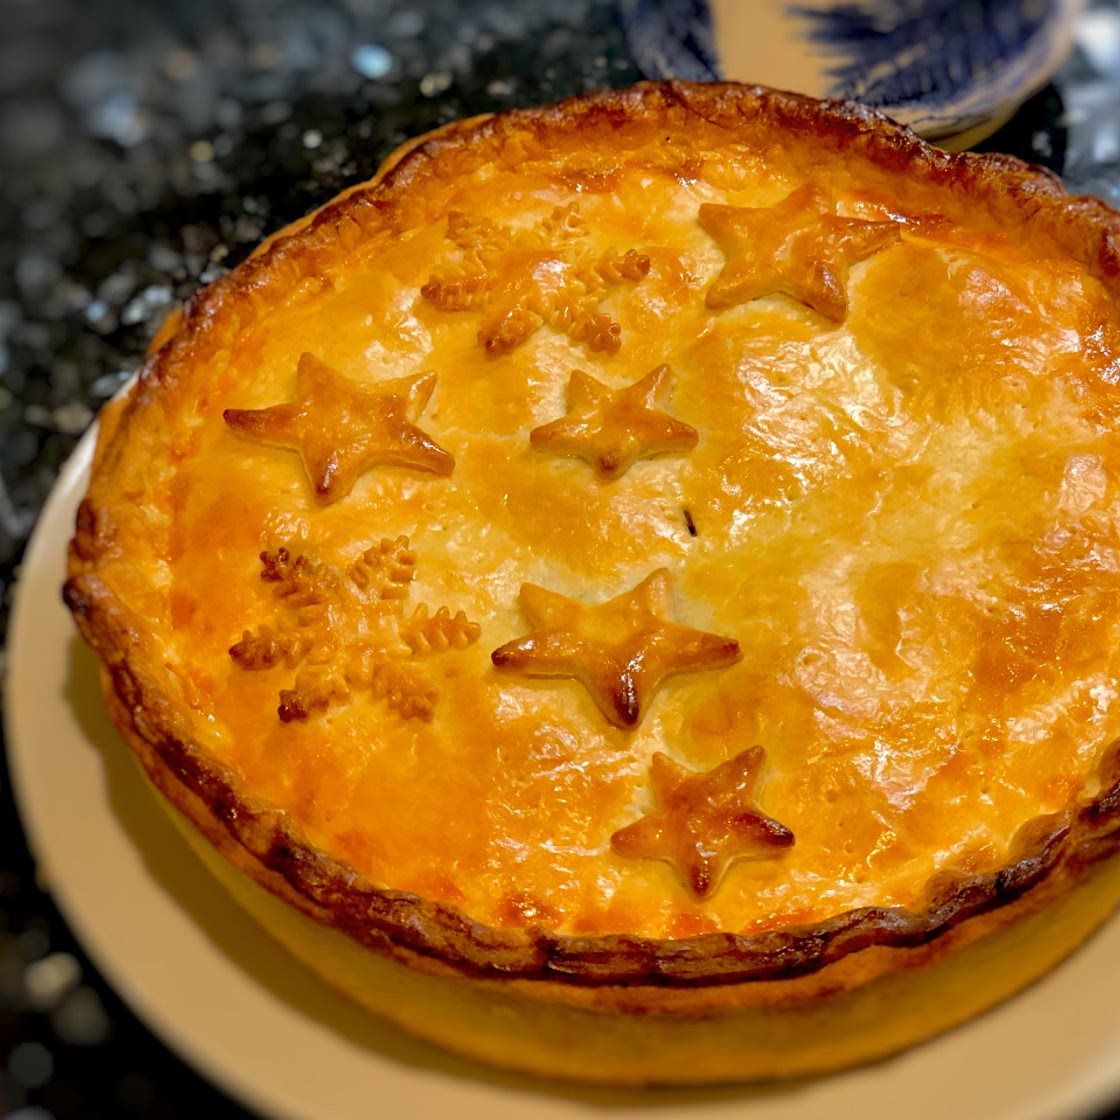
This pie is definitely a showstopper. It may sound fiddly, but it's actually reasonably simple to pull together. I've added notes in the instructions to try and help!
It'll serve six to eight people (or four very hungry people!). If you're on a mission, you can make it all in one day, but you can make both the pastry and the pie filling in the days before you want to cook it - both will keep well for a couple of days in the fridge, and in fact assembling the pie will be easier if the filling is cold (if it's hot, it may start to melt the butter in the pastry).
If you make the filling in advance, make sure you separate the gravy while it's still hot. If you don't, the fat in the sauce will thicken when cold and make it difficult to separate. In this recipe, I've added chestnut mushrooms and bacon, which are put in towards the end of cooking to help retain their texture, but if it's easier (or you can't be bothered to do it separately), you could add these in with the beef before you add the liquid.
Updated at: Thu, 17 Aug 2023 12:50:52 GMT
Nutrition balance score
Unbalanced
Glycemic Index
69
Moderate
Glycemic Load
45
High
Nutrition per serving
Calories983.1 kcal (49%)
Total Fat57.7 g (82%)
Carbs65 g (25%)
Sugars5.4 g (6%)
Protein49.3 g (99%)
Sodium1167.5 mg (58%)
Fiber4.4 g (16%)
% Daily Values based on a 2,000 calorie diet
Ingredients
6 servings
For the pastry
food processor
but not crucial if you don't have one
400gplain flour
200gbutter
very cold
salt
95mlwater
cold
1bowl
large, cold
cling film
1egg
to wash the assembled pie, or splash of milk
For the filling
pot
large, oven proof, stock, or pan with lid
10gdried porcini mushrooms
steeped in just enough boiling water to cover
1 ½ Tbspolive oil
800gbraising steak
1onion
large, diced
1 stickcelery
finely chopped
3carrots
diced
3 Tbspsauce flour
or plain flour
250mldark ale
500mlbeef stock
dried thyme
bay leaf
250gchestnut mushrooms
150gbacon lardons
Other equipment
Instructions
For the pastry (can be made up to 2/3 days in advance)
Step 1
Put the bowl and the water in the fridge to chill. Make sure the butter is very cold - keep it in the fridge until the last minute! It can also be frozen and grated (but don't bother with this if you are using a food processor).
Step 2
Put the flour, butter and salt in a food processor and whizz it together for about 15 seconds. If you don't have a food processor, or you prefer, you can also use the breadcrumb method (making sure your hands are very cold).
Step 3
Pour the crumb mixture into the cold bowl and make a well. Pour about half of the water into the well and mix it all together with your (very cold!) hands, picking up as much flour as you can as you press it together. Add in the rest of the water and continue. It may seem as though it's not coming together, but suddenly it will start to form a ball. Knead it on a lightly floured surface until it begins to have a soft texture (don't keep going for too long, as your hands will warm and you will melt the butter), then wrap it in cling film and rest it in the fridge.
To make the filling (can be made in advance and chilled)
Step 4
Heat the oven to 160C (140C fan), and soak the porcini mushrooms. Using a large oven-proof pan (with a lid), brown the meat in a splash of olive oil. Remove the meat and set aside.
Step 5
Add the onion, celery and carrots into the pan and soften for a few minutes. Drain the porcini mushrooms (reserving the lovely mushroom water), then chop and stir them in.
Step 6
Add the sauce flour to the onion mixture, stirring well, and cook for a few minutes. Add the meat and meat juices back into the pan and stir together.
Step 7
Pour in the beef stock, ale and porcini mushroom liquid and stir together. Season and add in the herbs.
Step 8
Cover and put the pan in the oven and cook it for about 2 hours, checking and stirring every half hour/hour or so.
Step 9
About 20 minutes before the end of cooking, sauté the bacon until it's crispy, and add the mushrooms in, cooking until they release their juice and brown nicely. When the beef is done, take it out of the oven and mix in the mushrooms and bacon.
Step 10
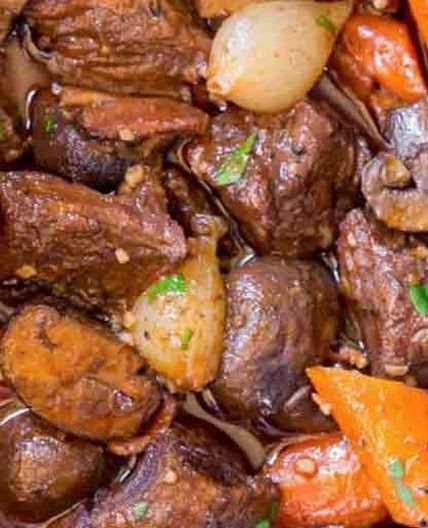
Your meat filling should now look and smell delicious, and hopefully be sitting in a good amount of gravy. Allow to cool a little, but while sauce is still hot, use a slotted spoon to separate the filling from most of the gravy, reserving the sauce to serve with the pie. It may take a little time with a spoon - if you don't mind the washing up, you could also use a colander (not a sieve, the sauce will be too thick) to separate the meat and vegetables from the gravy. *Note - it's especially important to do this now if making the sauce in advance, as once cold it will become more difficult to separate the liquid! Keep the filling and sauce to one side (cover the sauce) and allow everything to cool.
Assembling and cooking the pie
Step 11
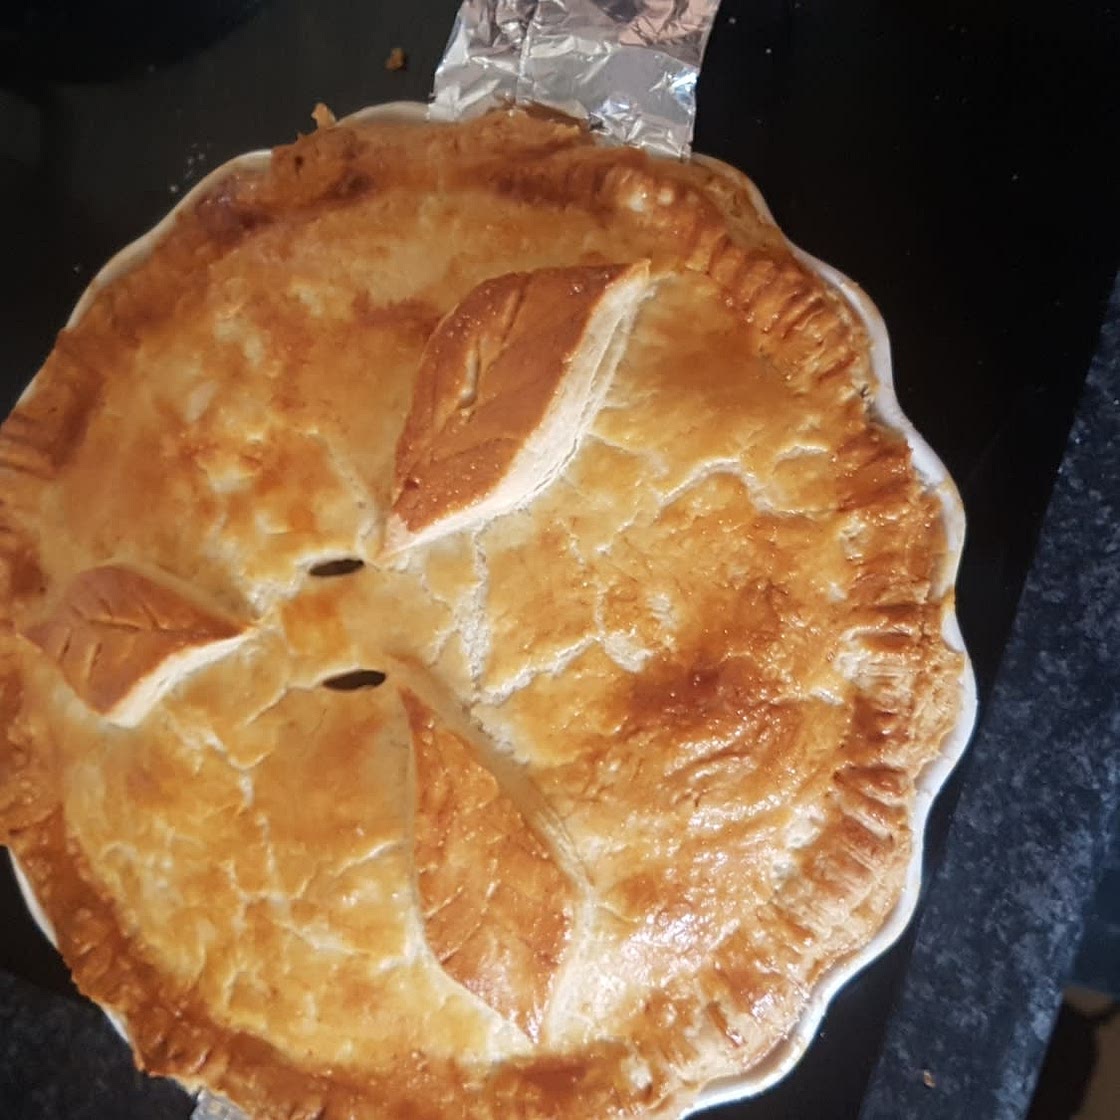
Take your pastry out of the fridge 5 or 10 minutes before you intend to use it. Turn the oven up to 220C (200C fan), and grease a deep 23cm pie dish. (If you're worried about your pie sticking, you can fold two long pieces of aluminium foil in a cross across the bottom of the dish - these can be used to lift the pie out when it's cooked. Although - the high butter content will help stop the pie from sticking!)
Step 12
Make sure your hands are cold. Don't rush, but aim to handle the pastry as little as possible - the more you do, the more the warmth of your hands will melt the butter. Cut off about 2/3 of the pastry (weigh it before and after if you're not sure), and shape it roughly into a ball. Flatten it slightly on a lightly floured surface, and use a rolling pin to roll it into a rough circle, at least about 34cm in diameter (sprinkle a little flour on the pastry and turn it over occasionally if you find it is sticking). Aim for the pastry to be very roughly the height of a £1 coin - but don't worry if it's not exact.
Step 13
Put the rolling pin roughly in the middle of the circle and gently fold the pastry dough over so that you can lift it, and place it over the pie dish, ensuring it's as central as you can. With cold fingers, gently press the pastry into the dish. You'll have some overhang, so use a sharp knife or a pair of scissors to cut off the excess - but leave a little extra (half a cm or so) hanging over. The pastry will shrink a bit when it cooks, and this also allows you some pastry to work with when sticking it all together. Put the base back in the fridge to rest and chill again while you prepare the other final bits.
Step 14
If your filling is still warm, make the lid of the pie first (next step) - otherwise it will start melting the pastry base while you're rolling out the second piece. Fill the pastry with filling roughly level with the rim of the dish (or slightly higher if you want a really deeply filled pie!). If you've got too much filling, just put it aside. You can have it another time with a lovely jacket potato or some rice, or even use any leftover pastry to make lid for mini pies.
Step 15
As with the base, take your remaining pastry and roll it out into a circle to a diameter of at least 30cm and about a £1 high. Pop it on top of the pie, gently pressing down around the edge. Use a sharp knife or scissors to cut off the excess (again leaving a little bit over the edge). Use your finger to press the two pieces of pastry together all around the edge, which will give it a fluted or crimped effect. Push a sharp knife into the middle of the pie lid twice to make a cross (X) shape - this will allow the steam from the heated contents to escape and help prevent the pie from leaking.
Step 16
Now (if you want), roll out your remaining pastry again and use pastry cutters (or a knife) to create a few decorations as desired. Whisk an egg, and use a pastry brush to wash the whole pie top. Place your decorations on top of the egg-washed pie and give them a quick wash too. NOTE: If (like me), you sometimes feel you don't want to "waste" an egg, you can also use milk as a wash for the pie. It will still give the pie a glaze, but it won't be quite as golden as if you use an egg.
Step 17
Stand back and admire your hard work. Maybe take a photo and send it to someone, along with a smug message. Put your pie in the pre-heated oven and bake it for about 40 mins, while you prepare your sides. I served mine with mashed potato and peas, but it also worked deliciously with brown basmati rice and broccoli. Whatever you prefer. Don't forget to heat the delicious gravy - and take another photo when it comes out of the oven!
Notes
11 liked
2 disliked
Delicious
Special occasion
Makes leftovers
One-dish

