Nutrition balance score
Unbalanced
Glycemic Index
70
High
Glycemic Load
55
High
Nutrition per serving
Calories492.1 kcal (25%)
Total Fat16.8 g (24%)
Carbs77.8 g (30%)
Sugars29.4 g (33%)
Protein7.4 g (15%)
Sodium230.6 mg (12%)
Fiber2.7 g (10%)
% Daily Values based on a 2,000 calorie diet
Ingredients
12 servings
475mlnon-dairy milk
oat, almond or soy all work well
1 tsporange zest
110gvegan butter
or coconut oil, melted
50ggolden caster sugar
or coconut sugar
7gfast action yeast
or active dry
475gstrong white bread flour
255gplain flour
or wholewheat for a nuttier flavour
1 tspsalt
150gvegan butter
or coconut oil, softened
160gsoft light brown sugar
or coconut sugar
2 Tbspground cinnamon
½ tspground cardamom
icing
¾ cupicing sugar
1 Tbspfresh orange juice
1 Tbspfresh lemon juice
zest of orange
lemon
Instructions
Step 1
. Gently warm the milk and the orange zest in a saucepan over a low heat until it reaches 37-43˚C (100-110˚F). If you don’t have a thermometer, test the temperature with your pinkie; it should feel the same temperature as your finger (so it neither feels cold or warm to the touch). If it’s warmer, let it cool until it reaches the correct temperature as too much heat will kill the yeast.
Step 2
2. Pour the milk into a mixing bowl, either for mixing by hand or for a stand mixer. Whisk in the melted butter and sugar. Sprinkle the yeast over the top and let it bloom in the liquid for about 5 minutes.
Step 3
3. Add in both types of flour and salt. If using a stand mixer using a dough hook attachment, incorporate everything together on the lowest speed. If mixing by hand, combine with a wooden spoon until you have a shaggy dough.
Step 4
4.Knead the dough. Using a stand mixer, this will take about 8-10 minutes on a medium speed. If kneading by hand***, about 10-15. You’re looking for a really smooth, stretchy dough.
Step 5
5. Place dough in a large, clean bowl. Cover with cling film and leave to rise in the fridge for at least an hour and a half – until doubled in size. I like to let it go until a few wrinkles start to appear on the surface. Proving in the fridge will make it easier to handle when rolling out and slows down the fermentation to develop flavour.
Step 6
6. Get your filling ready by mixing together the sugar and cinnamon (and cardamom if using).
Step 7
7. Grease and line a 30 x 20 cm baking tray (with high sides) with butter and baking parchment.
Step 8
8. When your dough is ready to be rolled out, punch it down and then turn out onto a lightly floured surface. Roughly shape into a rectangle, then begin rolling it out into a larger rectangle, measuring around 52 x 40 cm, and 1 – 1.5 cm thick.
Step 9
9. Spread over the softened butter in an even layer, leaving a 1.5cm margin at the top edge (the one furthest away from you). Sprinkle over the cinnamon sugar and gently press into the butter and dough.
Step 10
10. Roll the dough into a log from the long side closest to you. Using a very sharp knife, cut 1.5cm off each end to neaten. I then prefer to gently mark first before I make definitive cuts, measuring around 4cm for each roll along the length of the log. Slice into 12 rolls.
Step 11
11. Arrange the rolls in the prepared baking tray, with around 1.5cm of space around all sides for them to spread as they prove. Cover the tray with cling film and let prove at room temperature for another hour, until doubled in size.
Step 12
12. Preheat oven to 180˚C.
Step 13
13. Check the proof of your dough by gently pressing the side of a bun with a floured finger. There should be a bit of springing back but the indent should remain, filling back in no more than half way. Giving the rolls a good proof here is really important as it’s what makes them light and fluffy!
Step 14
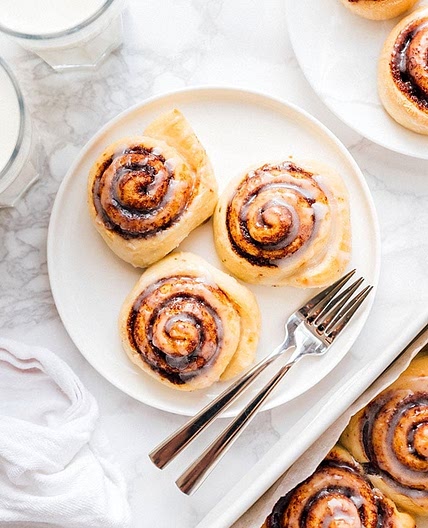
14. Bake for 20 – 25 minutes, until puffy and golden brown.
Step 15
15. Combine your ingredients for the icing in a bowl.
Step 16
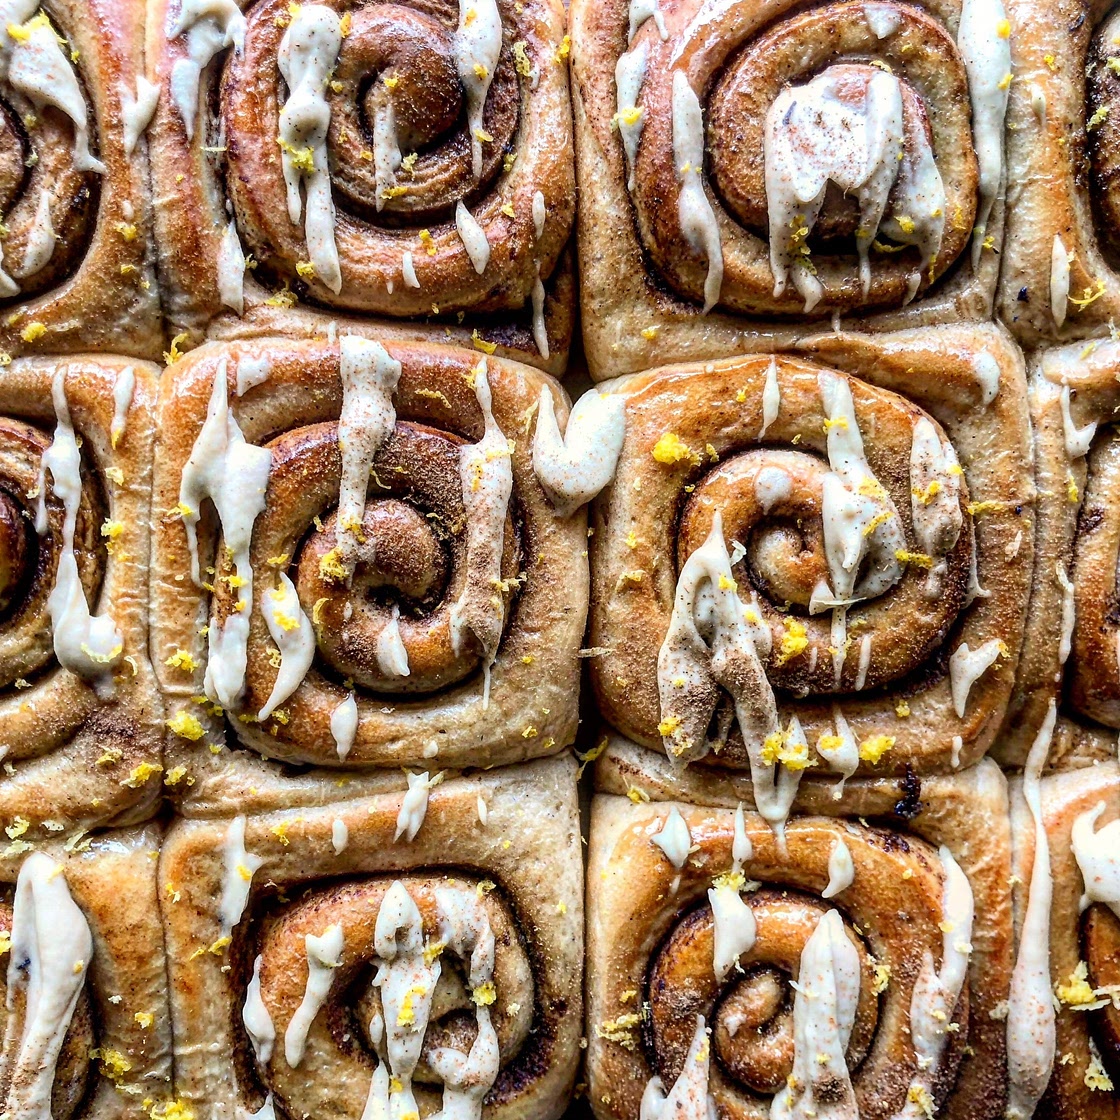
16. Once out of the oven, let the rolls cool for about 5 -10 minutes, then remove from the tin. I like to glaze mine with a bit of maple syrup for some shine. Then, drizzle over the icing. I usually do this in two rounds – one to let it soak in, and then a second about 5 minutes after to create a nice, visible finish. You may not need all the icing, it depends on your taste! While the icing is still wet, grate over the zest of an orange and a lemon.
View on starving-artist.co.uk
↑Support creators by visiting their site 😊
Notes
0 liked
0 disliked
There are no notes yet. Be the first to share your experience!
