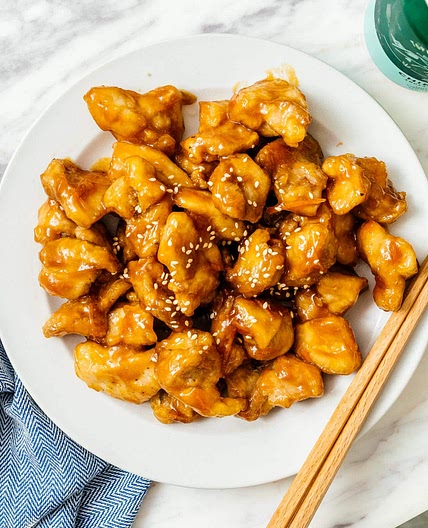
1/10
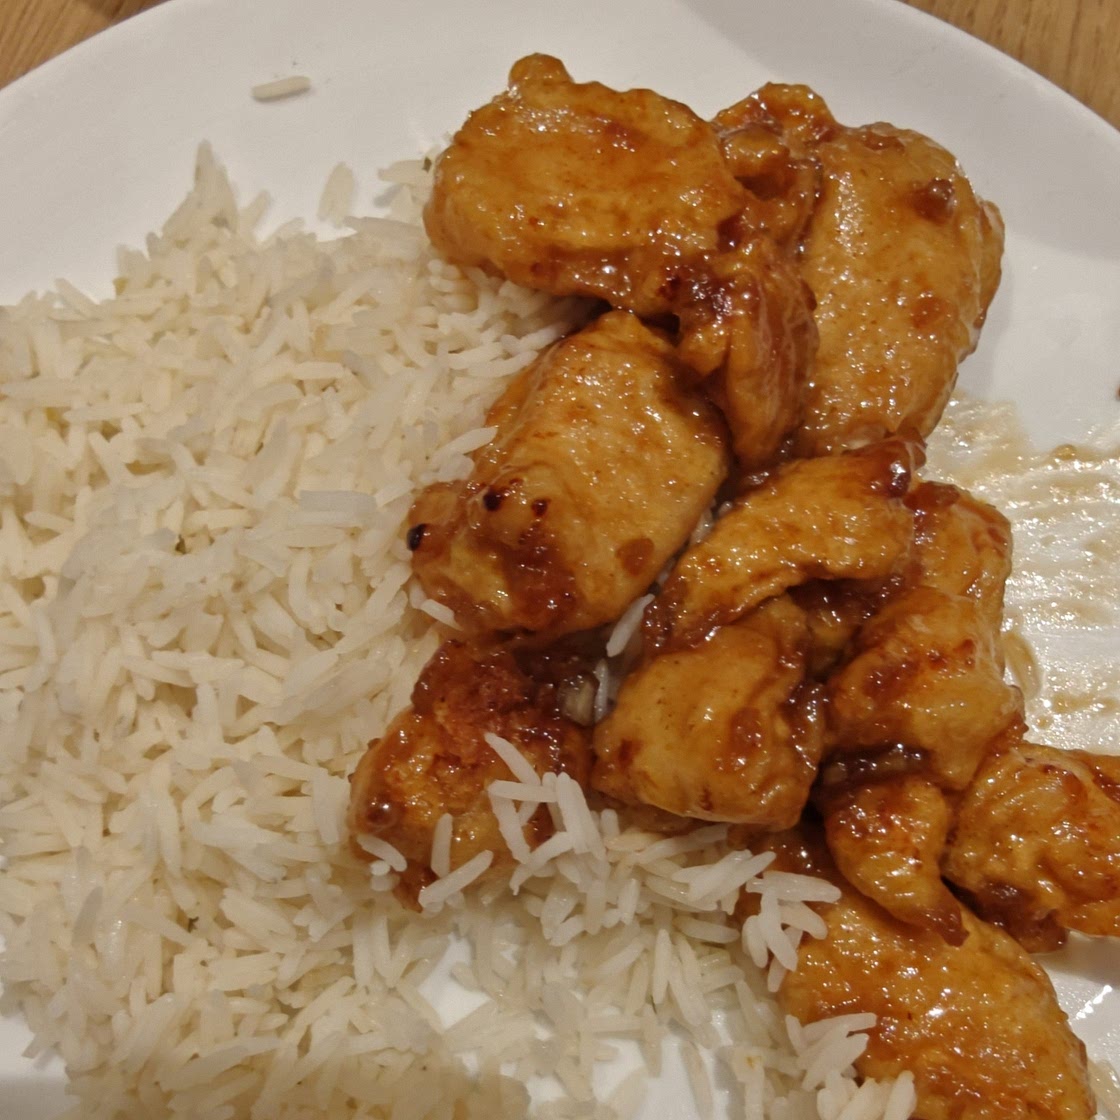
2/10
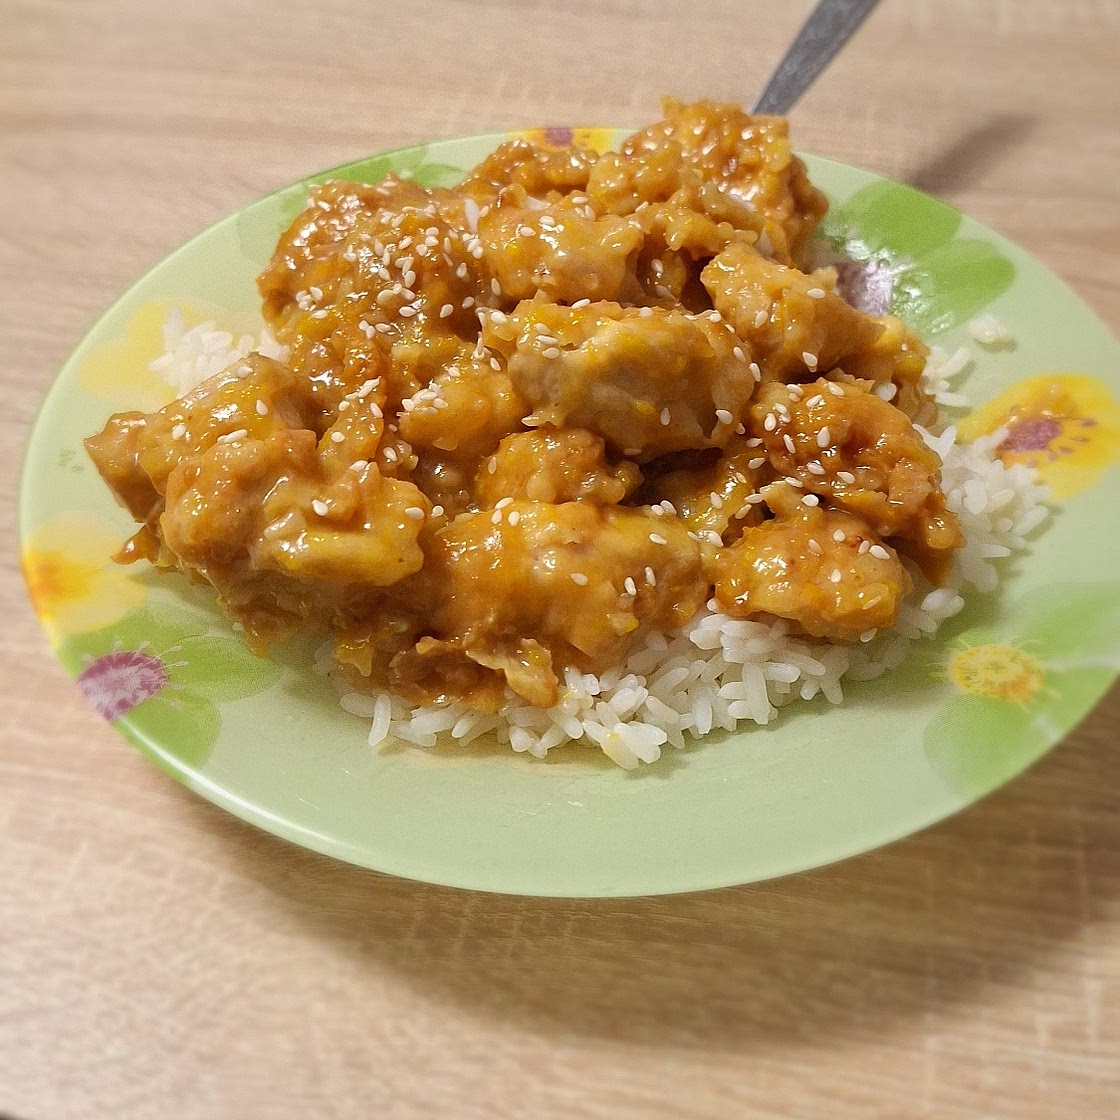
3/10
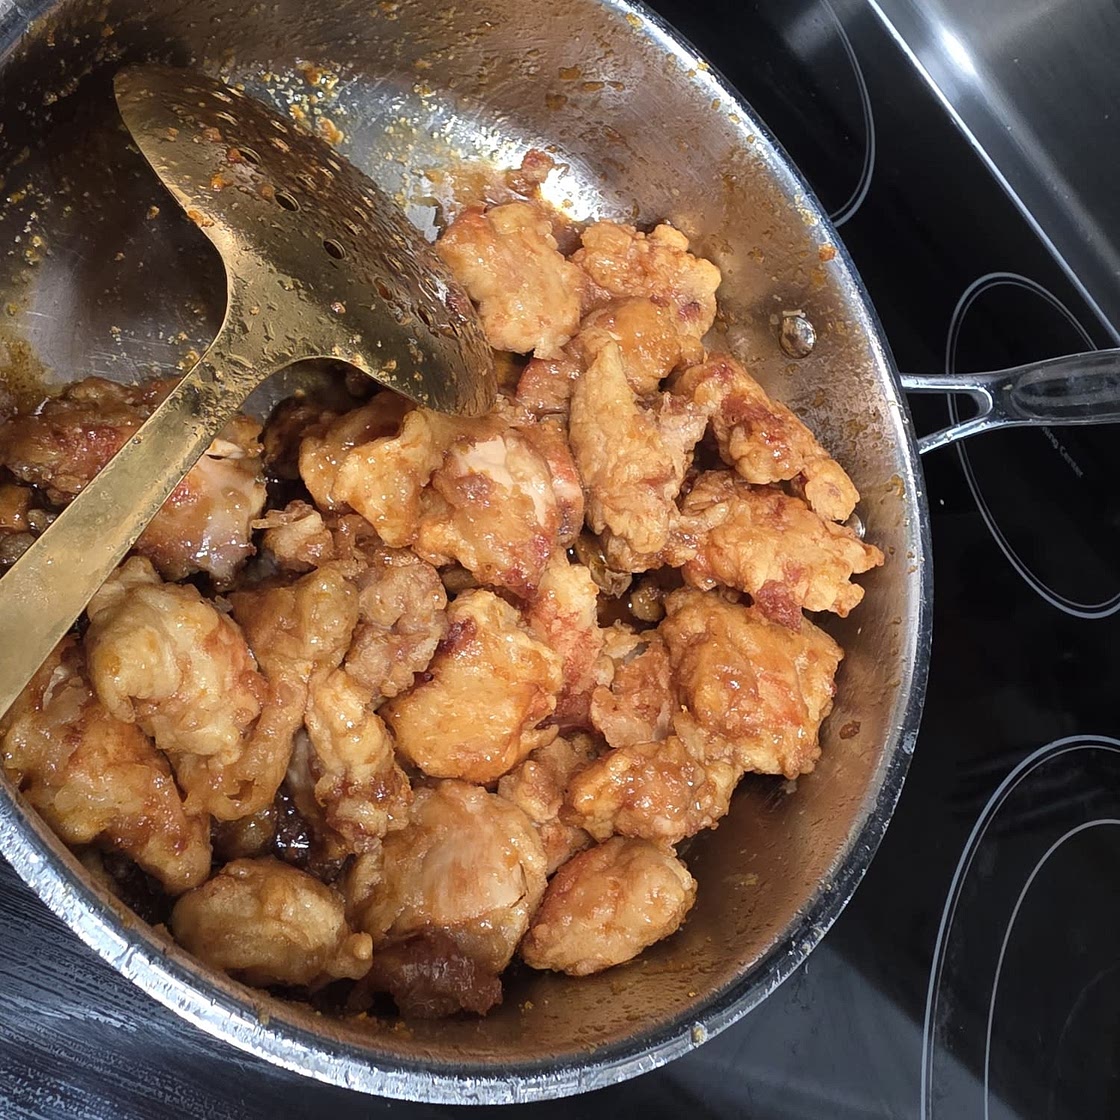
4/10
5/10
6/10
7/10
8/10
9/10

10/10
90%
118
By That Introverted Werido
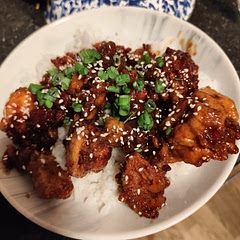
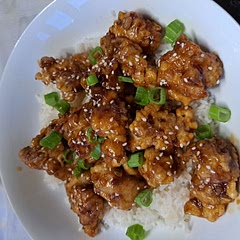
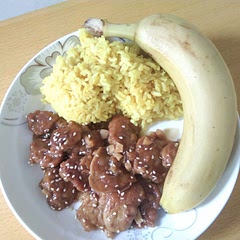
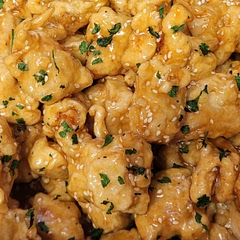
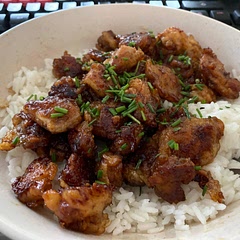
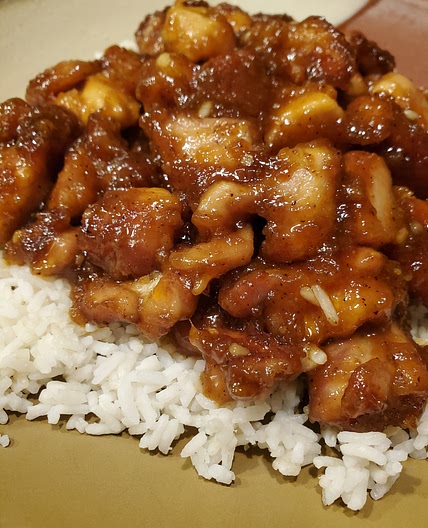
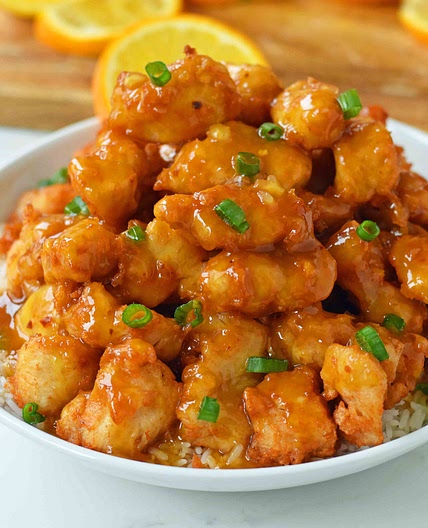
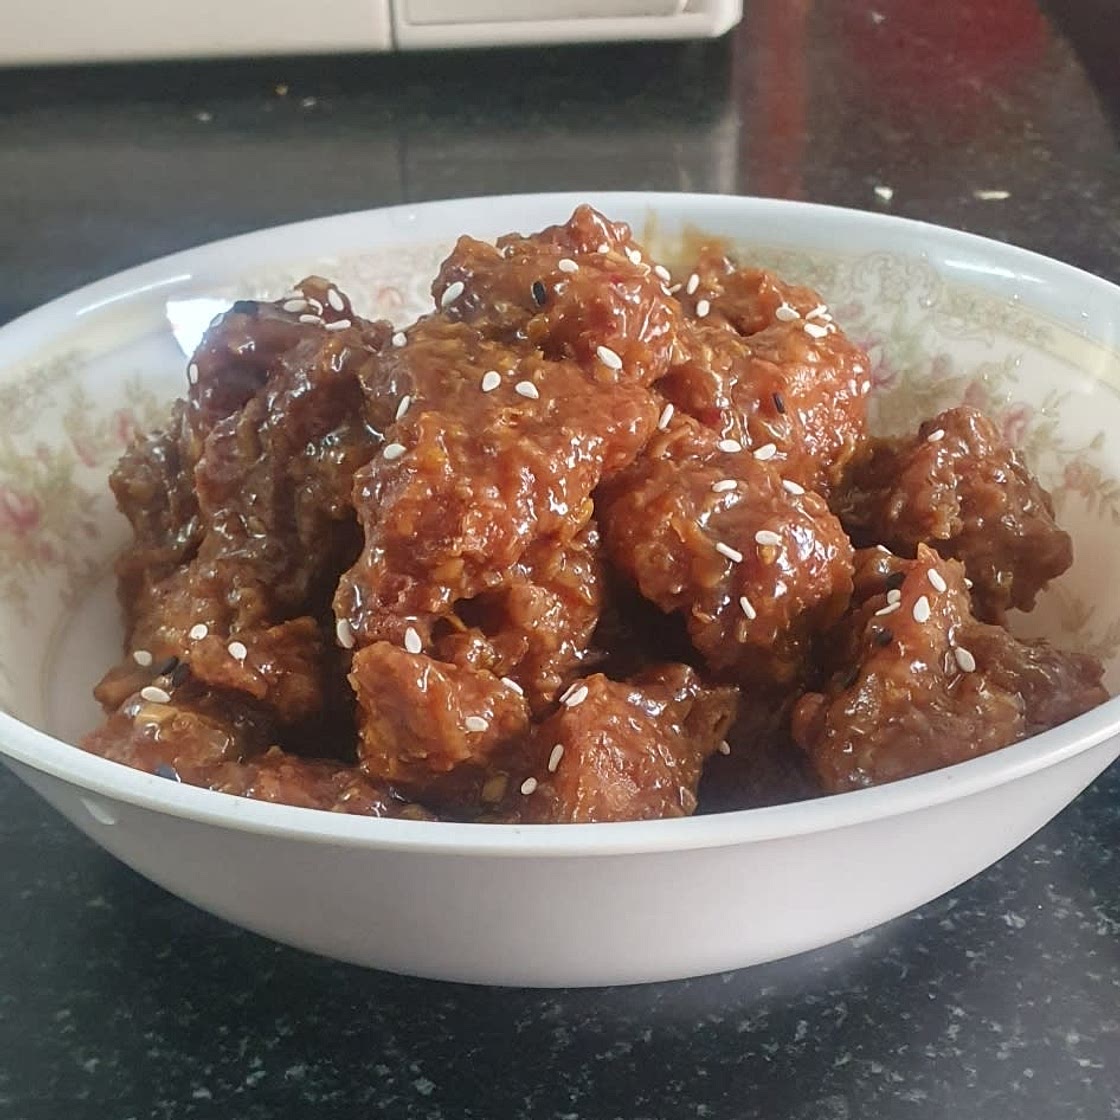
Chinese Orange Chicken
15 steps
Prep:15minCook:15min
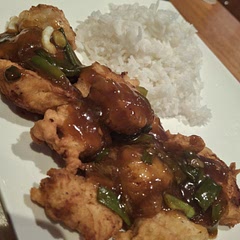
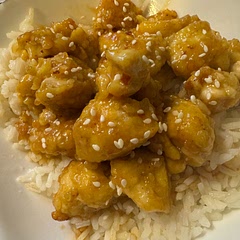
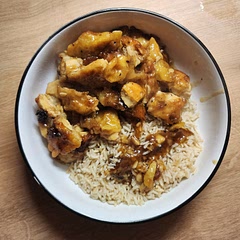
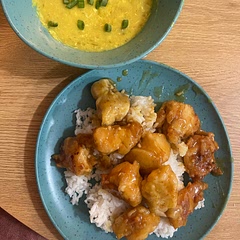
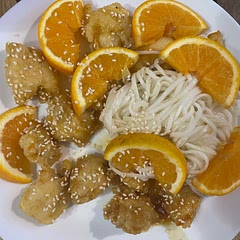
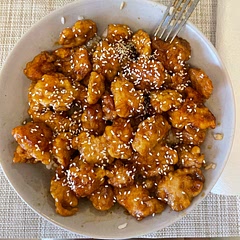
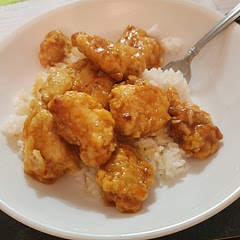
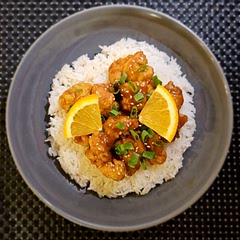
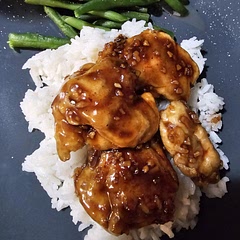
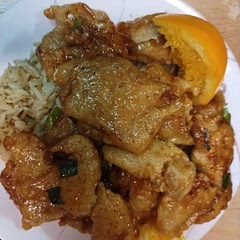
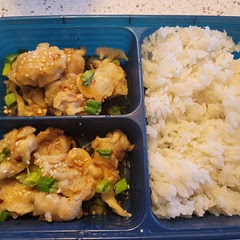
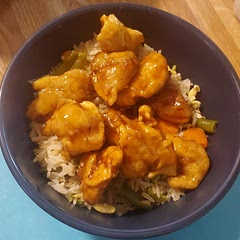
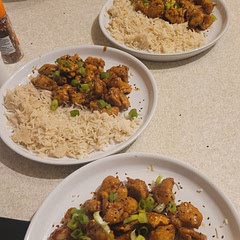
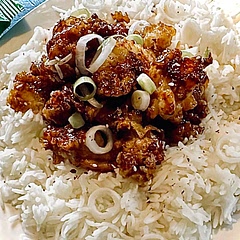
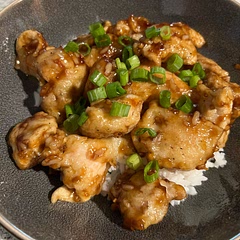
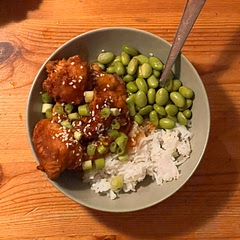
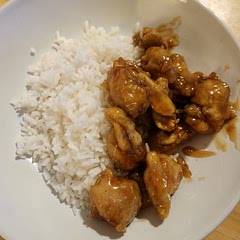
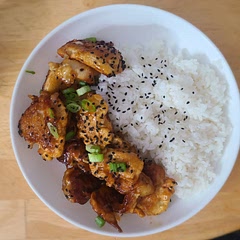
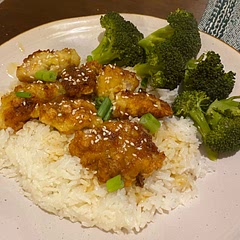
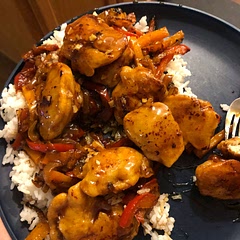
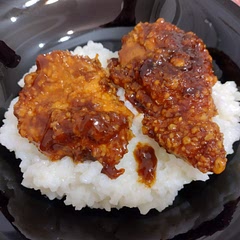
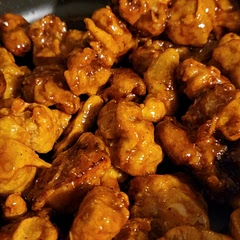
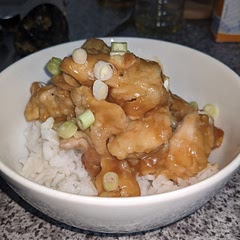
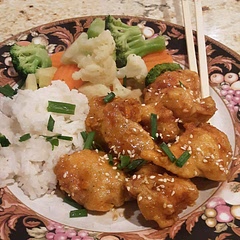
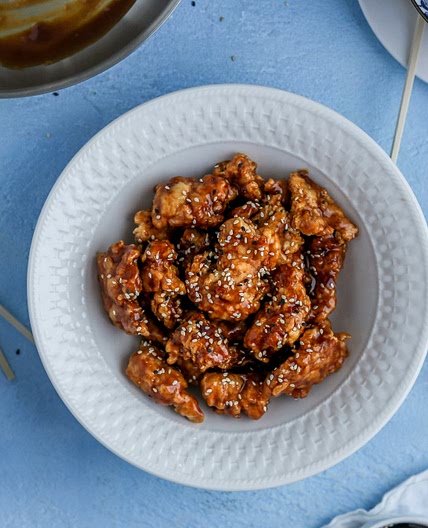
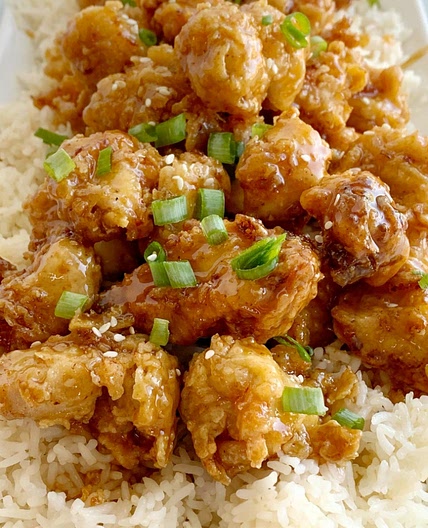
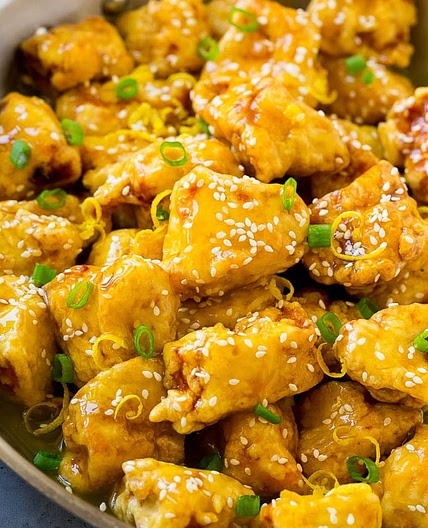
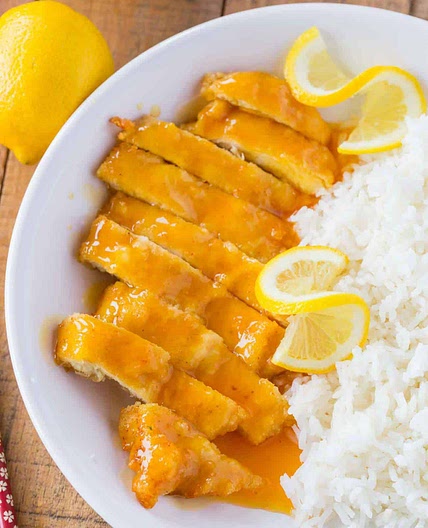
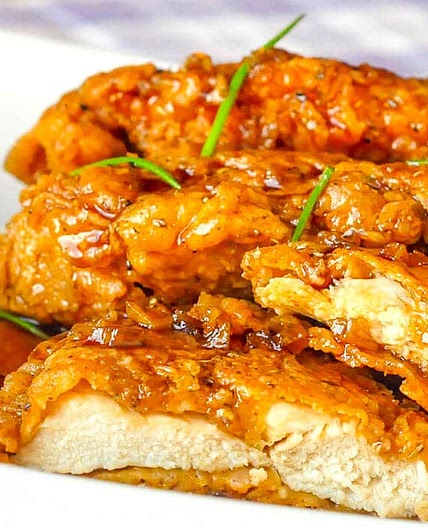
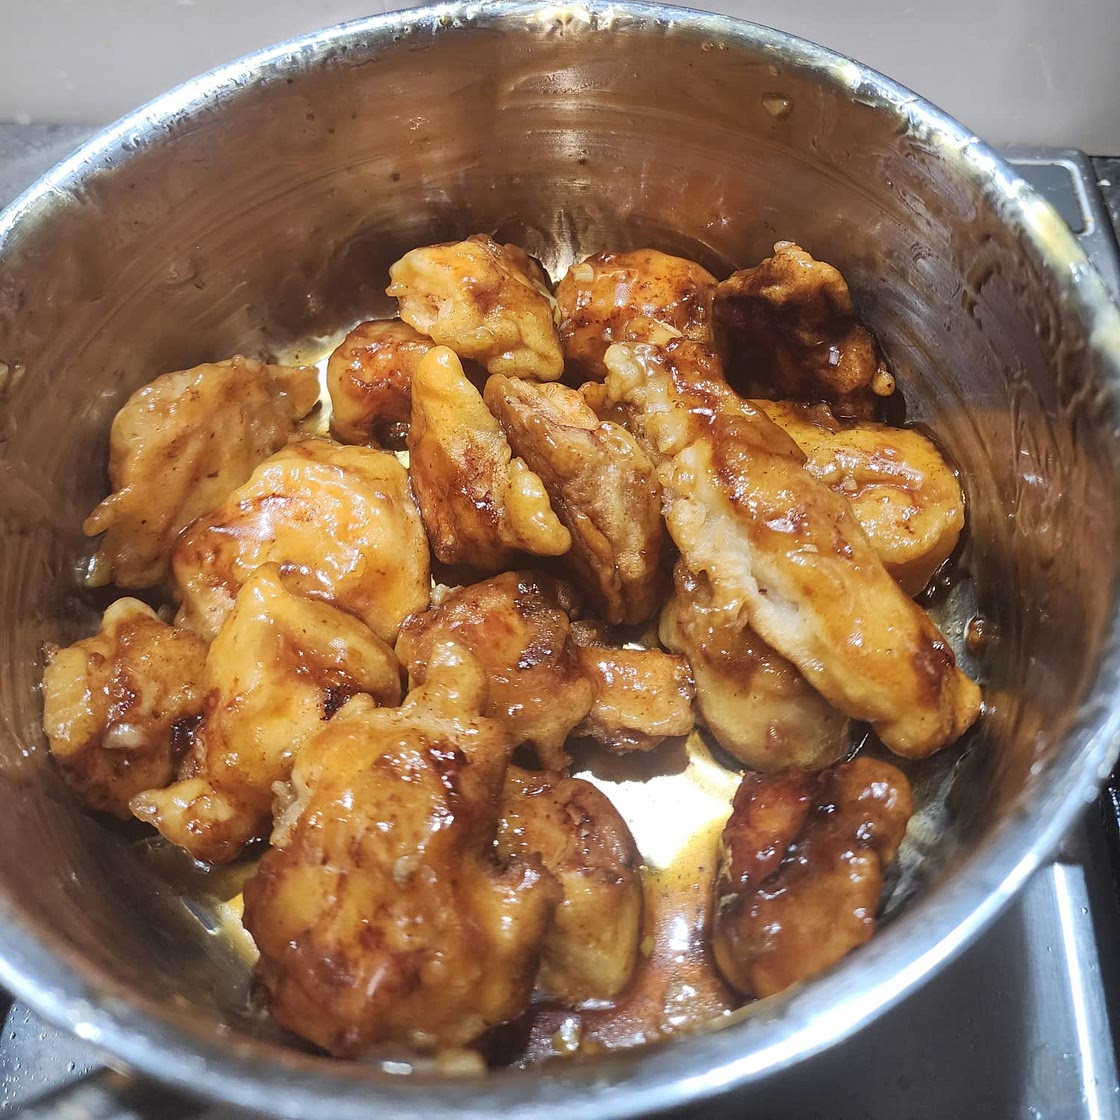
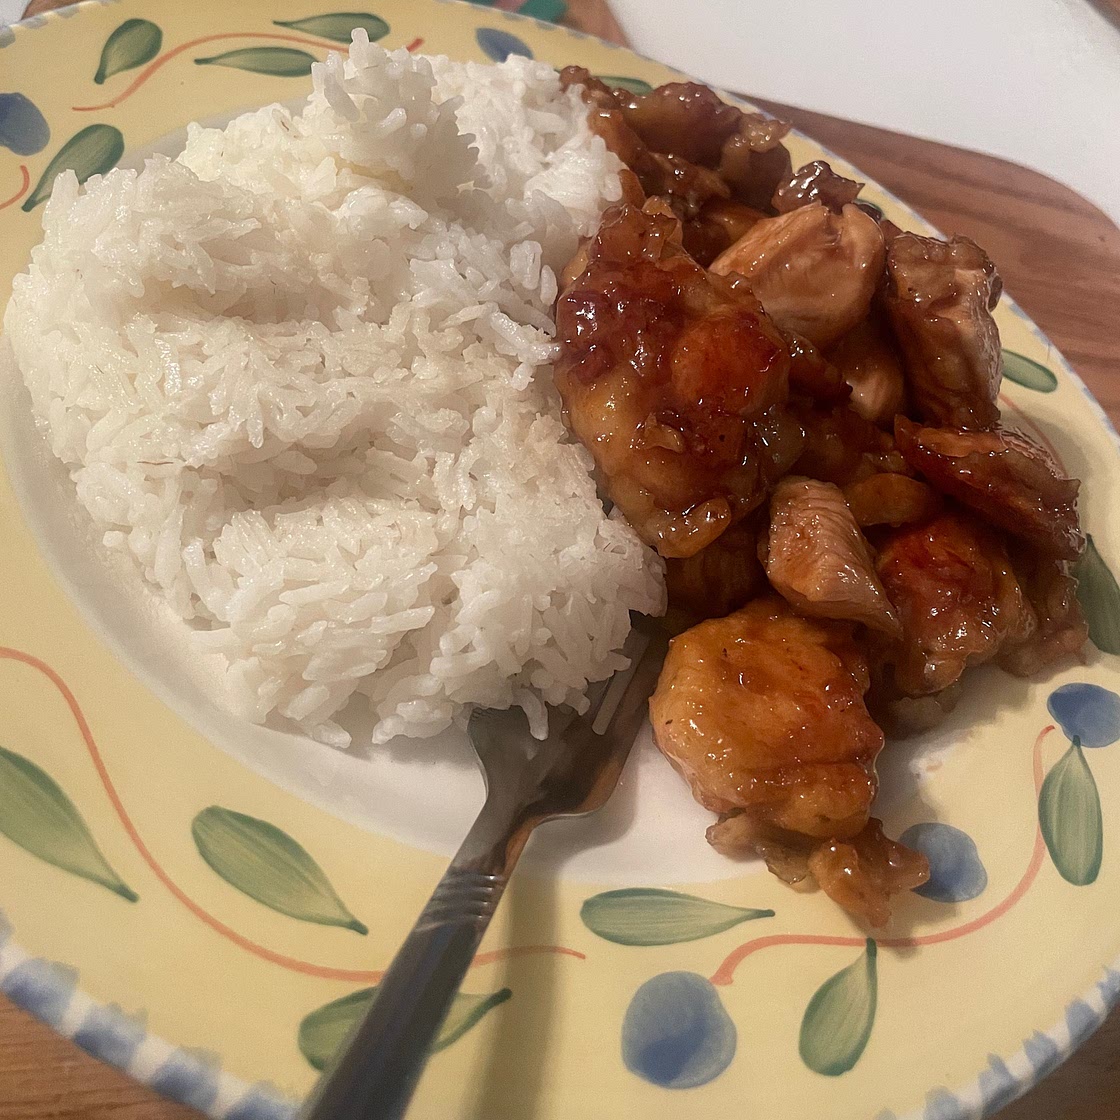
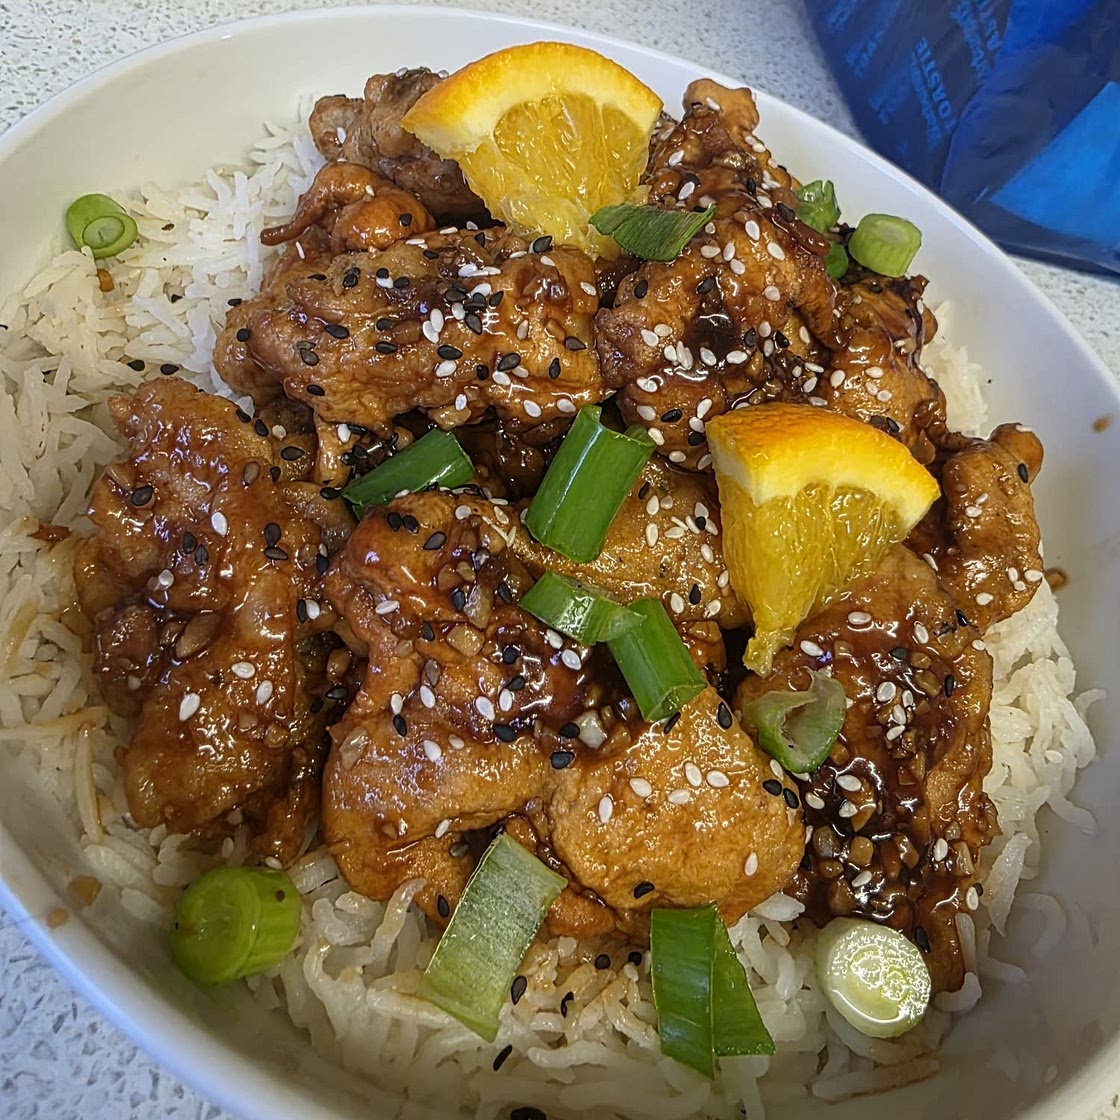
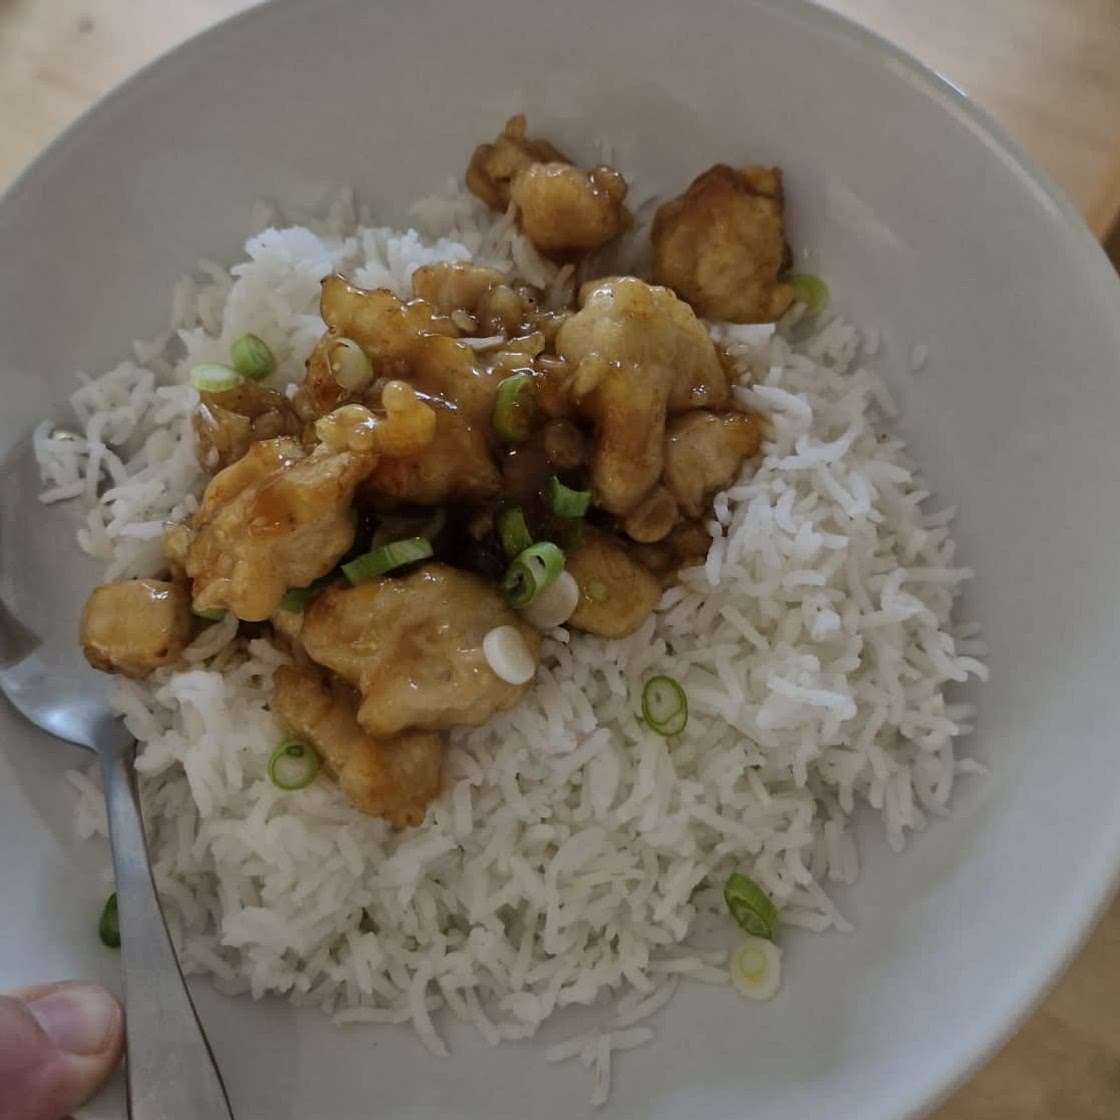
This Chinese Orange Chicken is made with crispy fried chicken coated in a sticky orange chicken sauce.
Updated at: Thu, 17 Aug 2023 11:30:21 GMT
Nutrition balance score
Unbalanced
Glycemic Index
68
Moderate
Glycemic Load
55
High
Nutrition per serving
Calories574.7 kcal (29%)
Total Fat13.7 g (20%)
Carbs81 g (31%)
Sugars27.6 g (31%)
Protein30.3 g (61%)
Sodium871 mg (44%)
Fiber2.5 g (9%)
% Daily Values based on a 2,000 calorie diet
Ingredients
4 servings
For Chicken
1 poundboneless skinless chicken thighs
thighs, or 3 chicken breasts
1 ½ cupsall-purpose flour
½ cupcornstarch
½ teaspoonsalt
¼ teaspoonblack pepper
1egg
large
1 ¼ cupswater
1 tablespoonvegetable oil
canola, sunflower etc
vegetable oil
for frying depending on the size of your pan
For Sauce
1orange
large, you'll need the juice and zest
2 tablespoonssoy sauce
¼ cuprice vinegar
or white vinegar
½ cupbrown sugar
packed
2garlic cloves
large, minced, or 1 tsp garlic powder
1 tablespooncornstarch
mixed with 1 tbsp water
For Garnish
Instructions
Chicken
Step 1
Cut chicken into 1-inch cubes.
Step 2
In a medium bowl, mix together the flour, cornstarch, salt and pepper. Add the egg, oil and water, whisking until smooth.
Step 3
Add the chicken cubes to the mixture, making sure the chicken gets thoroughly coated. Cover and chill for 30 minutes in the fridge. (If you're in a hurry, 10 minutes will do.)
Step 4
In a medium saucepan or deep fryer, add 2 inches of oil and heat to 350˚F (177˚C). Line a plate with paper towels and set aside.
Step 5
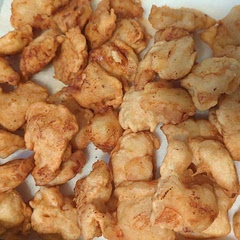
Add the marinated chicken cubes in batches of about 10-15 pieces, shaking off excess batter if needed. Deep fry for 2-3 minutes until golden, turning halfway through with a slotted spoon for even browning.**
Step 6
Remove to the plate and cover with foil to keep warm while you make the sauce.
Orange Chicken Sauce
Step 7
To a medium saucepan, add orange juice, orange zest, soy sauce, vinegar, brown sugar, and garlic.
Step 8
Place the saucepan over medium heat and bring to a low boil. Carefully taste a few drops and adjust sugar, soy sauce and vinegar to suit your preference.
Step 9
Mix the cornstarch and water in a cup to make a slurry and pour into the sauce. Stir constantly until the sauce coats the back of a spoon. (This can take as little as 30 seconds or as long as several minutes.)
Step 10
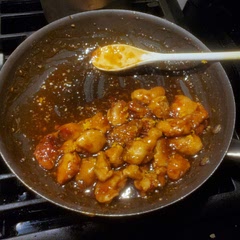
Add the fried chicken and toss until the sauce coats it thoroughly.
Step 11
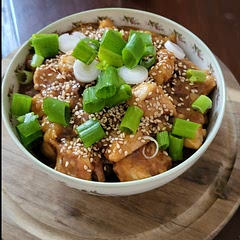
Garnish with optional sesame seeds, green onions and red pepper flakes. Serve immediately.
Notes
Step 12
Chicken thighs are juicier and more flavorful. Chicken breasts will also work, but dry out more easily so watch carefully.
Step 13
To get crispy chicken, maintain the oil temperature as close as possible to 350°F. Any lower and the chicken will be greasy. Any higher and the outside will crispen too quickly before the inside is done. Also avoid crowding the pot/deep fryer.
Step 14
Make Ahead: You can make this dish one day ahead of time and reheat in the microwave. It's also well-suited to meal prep.
Step 15
Make it gluten-free: Substitute gluten-free flour and gluten-free soy sauce or coconut aminos.
View on tipbuzz.com
↑Support creators by visiting their site 😊
Notes
467 liked
50 disliked
Delicious
Sweet
Go-to
Easy
Crispy
Very delicious. Added 1/3 cup extra orange juice. The adults enjoyed it. My 3 and 6 year old did not
The cooking process of the chicken is long but the end result is worth it. Tasted delicious 🤤

2 Likes


