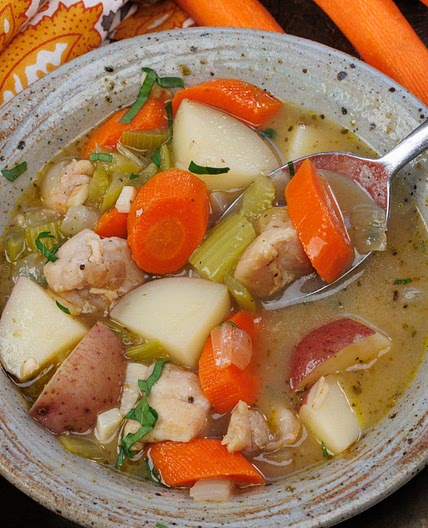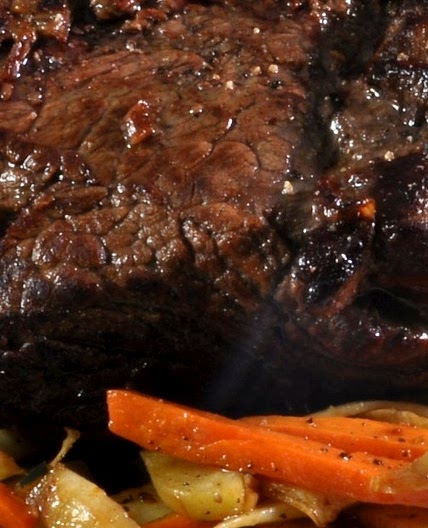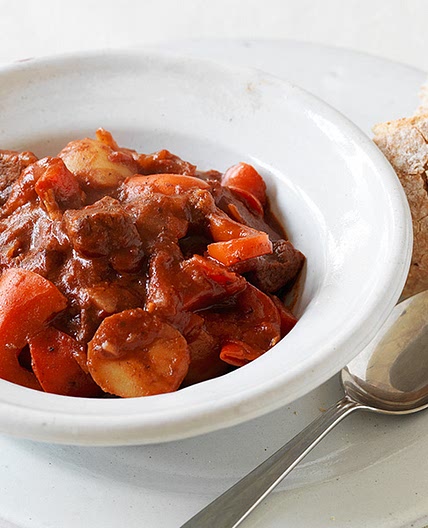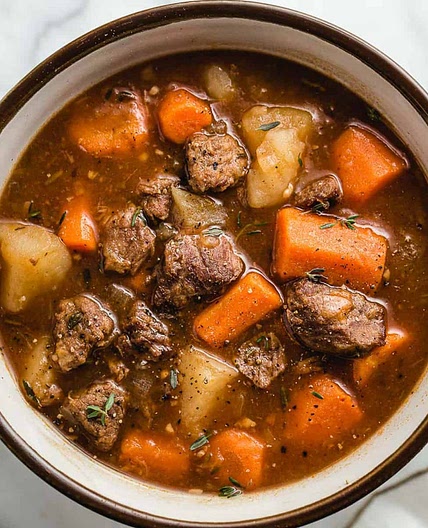
1/4

2/4

3/4

4/4
Leave a note
By Beth Scott
Homemade Beef Stew Recipe For Canning
22 steps
Prep:30minCook:1h 27min
Updated at: Thu, 17 Aug 2023 14:11:09 GMT
Nutrition balance score
Great
Glycemic Index
76
High
Glycemic Load
45
High
Nutrition per serving
Calories696.4 kcal (35%)
Total Fat18.2 g (26%)
Carbs59 g (23%)
Sugars8.8 g (10%)
Protein76.7 g (153%)
Sodium1863.3 mg (93%)
Fiber9.5 g (34%)
% Daily Values based on a 2,000 calorie diet
Ingredients
7 servings
Instructions
Step 1
Set up the pressure canner by filling it to the line inside the pressure canner with water.
Step 2
Sterilize the jars, lids and bands, then set them aside.
Step 3
Put the oil into a large cast iron skillet (affiliate link) and turn the heat on medium.
Step 4
Brown the stew meat in small batches and once it is browned, transfer it to a large stainless steel stock pot.
Step 5
Once all the meat is in the stock pot, add the potatoes, carrots, salt, pepper and thyme (affiliate link) to the stock pot and then cover all the ingredients with boiling water.
Step 6
Bring the contents of the stock pot to a boil, stirring frequently.
Step 7
Ladle the hot stew into the hot canning jars (affiliate link) making sure to leave one inch of headspace.
Step 8
Wipe the rim of the jars with a paper towel moistened with vinegar.
Step 9
Place the lid on the jar and then the band.
Step 10
Tighten the band until resistance is met and then tighten it a little more until it is finger-tip tight.
Step 11
Place the jars in the pressure canner.
Step 12
Lock the lid and bring the canner to a boil over medium heat.
Step 13
Vent the steam for 10 minutes, then place the weight, set to 10 pounds pressure on the vent.
Step 14
Use the instructions that came with your canner so you know when you reach the 10 pounds of pressure.
Step 15
Process pint jars for 75 minutes and quart jars for 90 minutes.
Step 16
When the timer goes all, turn off the heat, but do not move the canner or open it*. Let the pressure return to zero naturally.
Step 17
Wait 2 minutes after the pressure returns to zero naturally and then remove the weighted gauge from the vent and also remove the canner lid.
Step 18
Let the jars sit in the bottom of the canner for an additional 10 minutes.
Step 19
Then remove the jars, tighten the bands and let them sit overnight.
Step 20
The next day, remove the bands to check the seals.
Step 21
If the lids are sealed, label and date the jars, then store them in a cool, dry place.
Step 22
If the lids are not sealed, start back at step 8 and reprocess the jars or put them in the refrigerator to be eaten right away.
View on experimentalhomesteader.com
↑Support creators by visiting their site 😊
Notes
0 liked
0 disliked
There are no notes yet. Be the first to share your experience!


