1/5
2/5
3/5
4/5
5/5
87%
8
By Michelle Lu
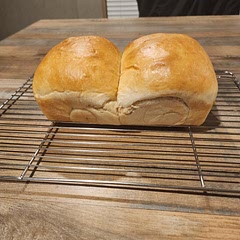
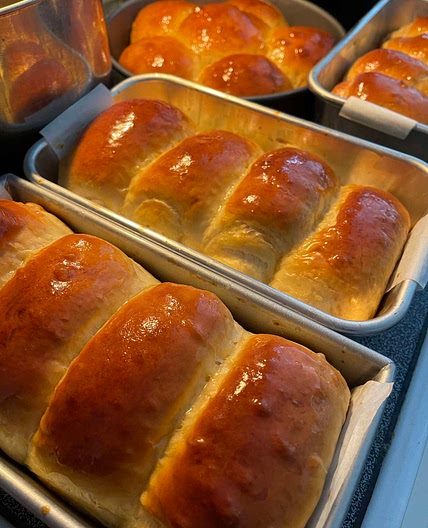
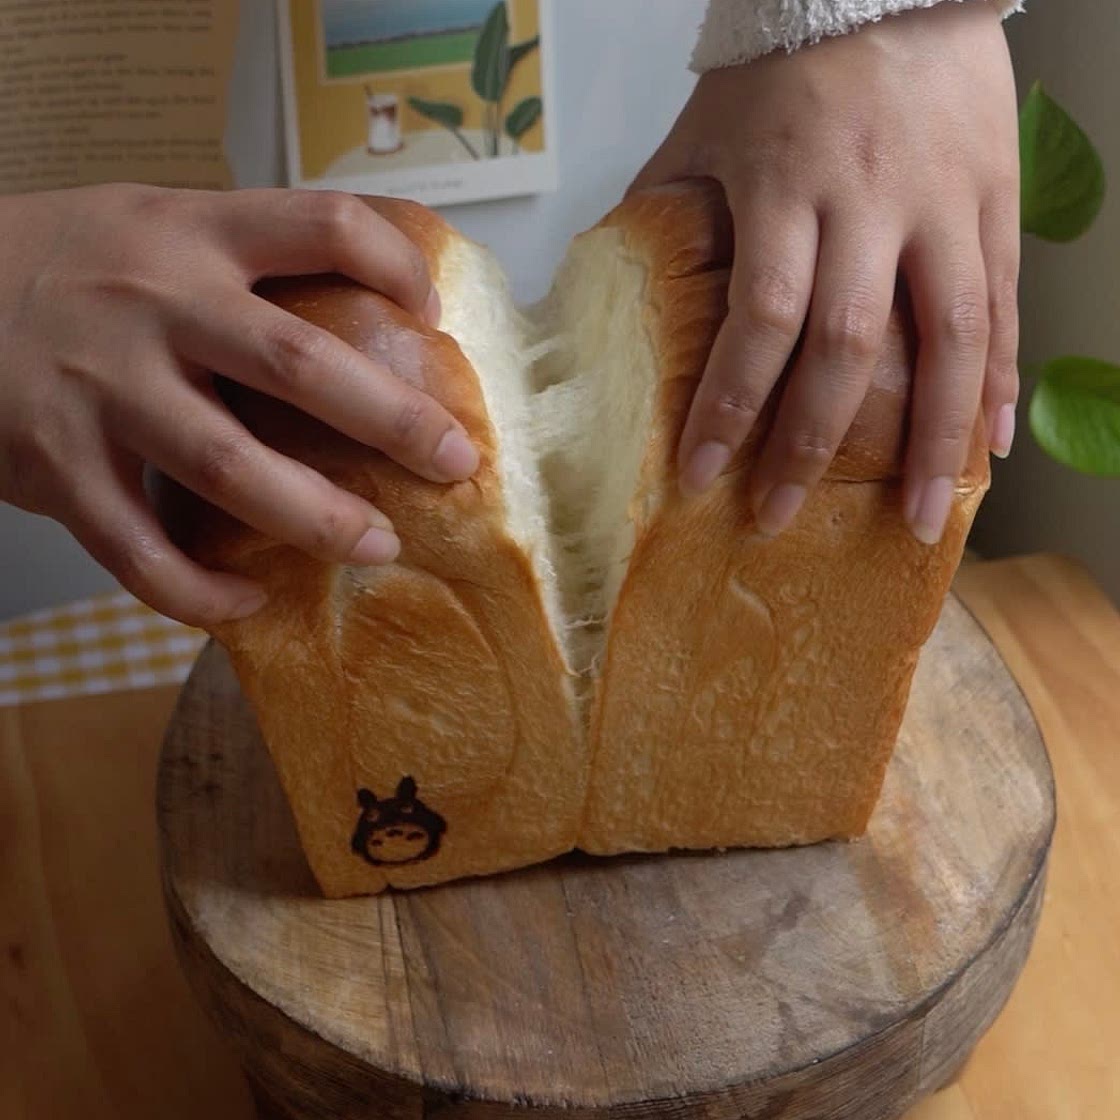
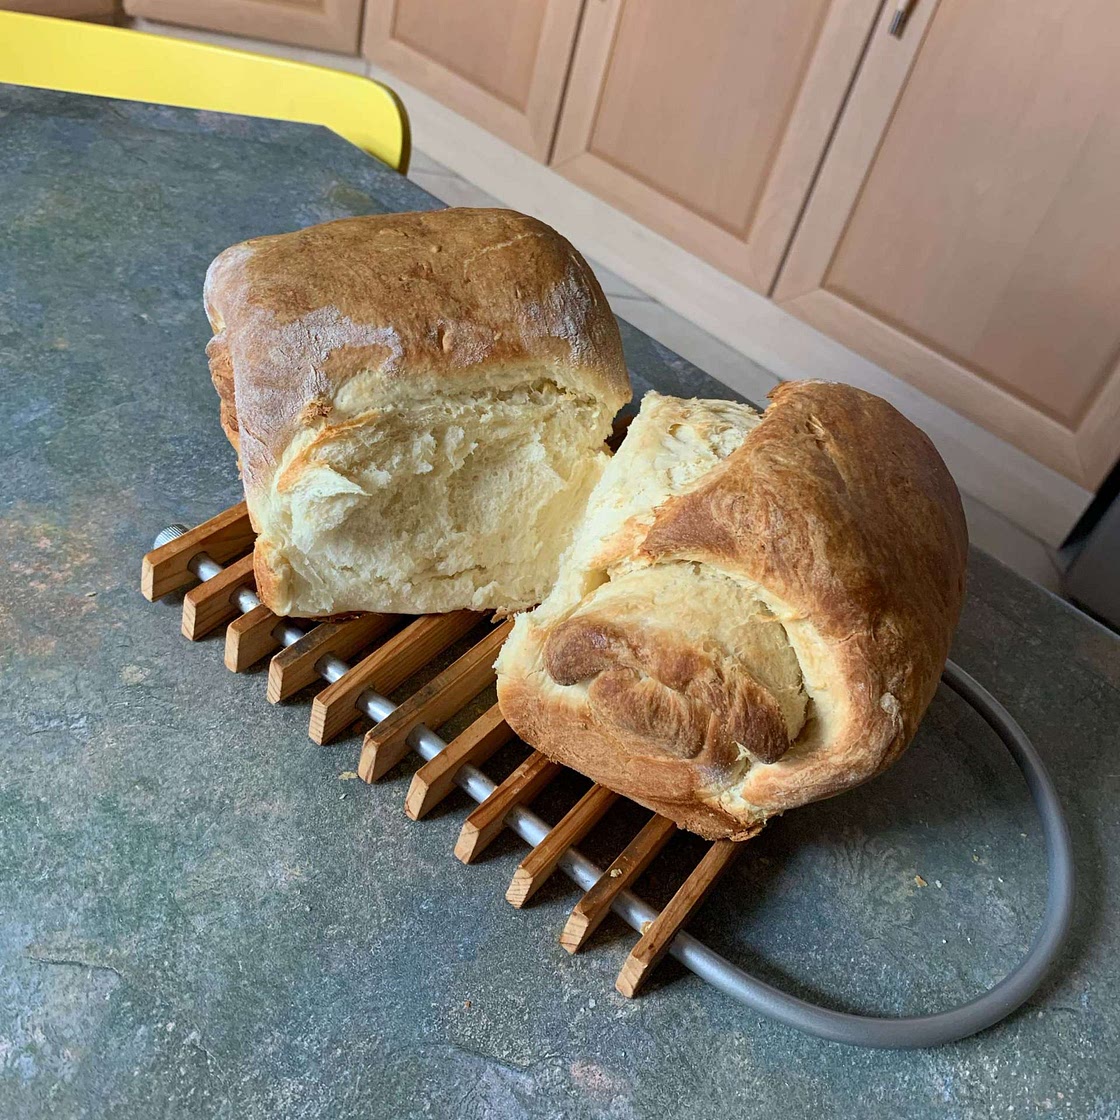
Japanese Milk Bread
Known as ‘山形食パン- yamagata shokupan’ or mountain-shaped bread in Japanese, this soft and fluffy loaf is sure to be a crowd favourite. Tangzhong nor Yudane are required in this simple recipe, but it certainly doesn’t compromise on fluffiness! Just a perk, so you can get to enjoy your loaf a little faster 🙈
Note: The size of the bread tin I used is 18cm x 14cm x 12.5cm. The measurements for this recipe may need to be adjusted for the volume of your bread tin.
Updated at: Thu, 17 Aug 2023 11:31:55 GMT
Nutrition balance score
Unbalanced
Glycemic Index
72
High
Glycemic Load
27
High
Nutrition per serving
Calories232.5 kcal (12%)
Total Fat5.8 g (8%)
Carbs38 g (15%)
Sugars5.6 g (6%)
Protein6.7 g (13%)
Sodium323.4 mg (16%)
Fiber1.3 g (5%)
% Daily Values based on a 2,000 calorie diet
Instructions
Step 1

Combine all dough ingredients except butter and knead either in a stand mixer/bread machine or on a floured surface for about 15-20 minutes
Step 2

When smooth, add the butter and knead again for another 10 minutes (or until no longer sticky)
Step 3
Take a small piece of dough and stretch it between your fingers. If you can stretch it thin and translucent without tearing, it's done. This is called the 'windowpane test'.
Step 4

Cover and let the dough rise in a warm place until doubled in size (around 1 1/2 hours)
Step 5

Once the dough has doubled, knock out the air and split into 2 portions. Rest for an additional 15 minutes.
Step 6

Roll out a portion of dough into a long rectangle shape.
Step 7

Fold the dough tightly towards the centre from the top and bottom.
Step 8

Rotate the dough 90 degrees and roll it up from one end to form a spiral. Pinch the seams shut. Repeat with the other portion.
Step 9
Grease the bread tin with butter or lightly spray with oil.
Step 10

Place both portions of dough seam side down into the bread tin.
Step 11

Cover with a damp tea towel and proof for 1 hour or until the dough is 1cm below the rim of the bread tin. In the last 20 minutes of proofing, preheat the oven to 180 degrees c
Step 12

Brush the top with milk and bake at 180c for 25 minutes.
Step 13

Once out of the oven, immediately drop the tin from a height onto the bench a couple of times to prevent shrinking.
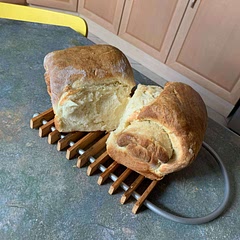
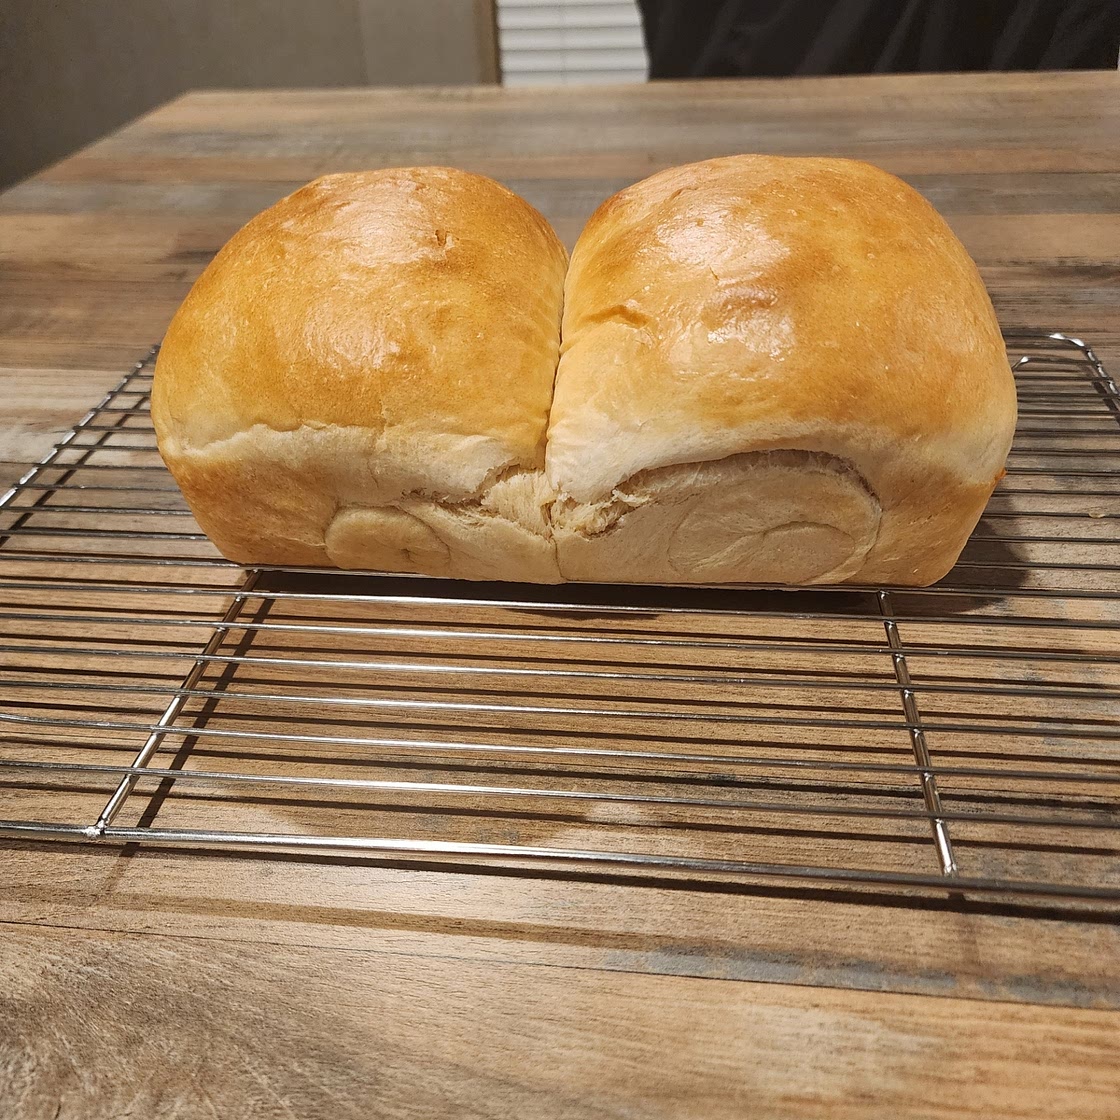
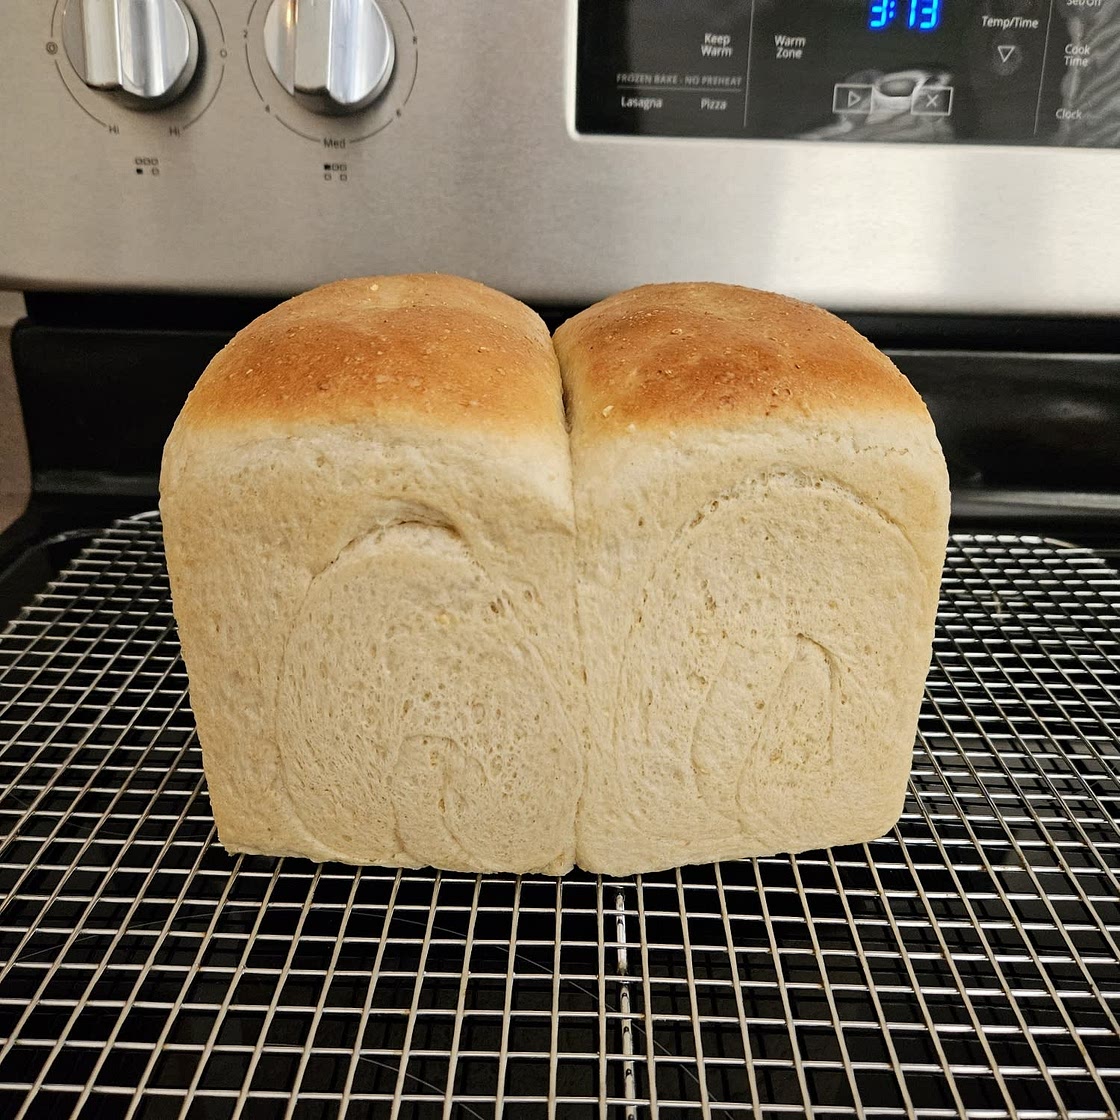
Step 14

Turn the loaf out onto a cooling rack. Enjoy once cool
Note:
Step 15
The size of the bread tin I used is 18cm x 14cm x 12.5cm. The measurements for this recipe may need to be adjusted for the volume of your bread tin.
Notes
51 liked
7 disliked
Delicious
Go-to
Easy
Fresh
Kid-friendly