Nutrition balance score
Uh-oh! We're unable to calculate nutrition for this recipe because some ingredients aren't recognized.
Ingredients
6 servings
Tofu cheese
Remaining ingredients
Instructions
Step 1
If using the tofu option, crumble the cotton tofu into a large mixing bowl with a fork. Mix in the silken tofu. Season with a bit of salt and lemon juice – you can always add more later when you mix in the spinach.
Filling
Step 2
Cook the spinach by either blanching it in batches for about 40 seconds and then plunging it into a bowl of ice-cold water (to stop it from cooking any further) or by sautéing it in a frying pan in a good splash of water.
Step 3
Once the spinach is cooked, allow it to cool down completely and then wring it dry (that’s very important as otherwise the pie will be soggy). I simply used my hands to squeeze all the water out of the spinach in small, palm-size batches. I am very diligent about it as spinach retains moisture like nothing else. Chop the spinach finely after it’s been wrung dry.
Step 4
Heat up a tablespoon of olive oil in a small pan, gently stir-fry the spring onions and garlic until softened and fragrant. Cool them down before adding them to the filling.
Step 5
Mix the ‘cheese’ mixture, chopped dry spinach, lemon zest, mint, dill, parsley, nutmeg, black pepper, nutritional yeast, softened garlic and spring onions together in a large bowl. Mix them all really well with your hands. Taste the mixture and adjust the seasoning as required.
Assembly
Step 6
Preheat the oven to 160° C fan / 320° F fan (or 180° C / 355° F without a fan, although I recommend using a fan if your oven has one – it helps to crisp the pastry up) and grease a round tin or a baking tray with a bit of olive oil. If you don’t have a tin the right size, do not worry, use a large baking tray – this pie is pretty self-contained.
Step 7
To assemble the pie, clear a large area of your work bench to make room for a long row of pastry sheets joined together. Keep the thawed pastry sheets protected by a damp kitchen towel so that they do not dry out and become brittle.
Step 8
Place a rectangle of pastry in front of you, making sure the longer side is parallel to you. Then place another rectangle to its right overlapping the ends by 5 cm / 2 “. Follow up with the third sheet arranged in the same manner. You should end up with a very long rectangle of pastry.
Step 9
Using a pastry brush, quickly grease the entire area with a bit (not too much) olive oil and double all the pastry sheets overlapping them in the same manner.
Step 10
Follow up with another layer of pastry (if you want and have enough pastry sheets, it’s not necessary).
Brush the entire area with a little bit of oil again before arranging the filling on top.
Step 11
Put a long snake of filling along the longer edge of the pastry leaving a 5 cm / 2″ margin at the bottom. Try to make the filling amount the same everywhere. I weighed my entire filling (710 g / 25 oz) and then divided it into 5 (this recipe spans a total of 5 sheets wide of phyllo pastry to fill a 26 cm / 10″ diameter pie dish) 142 g / 5 oz portions.
Step 12
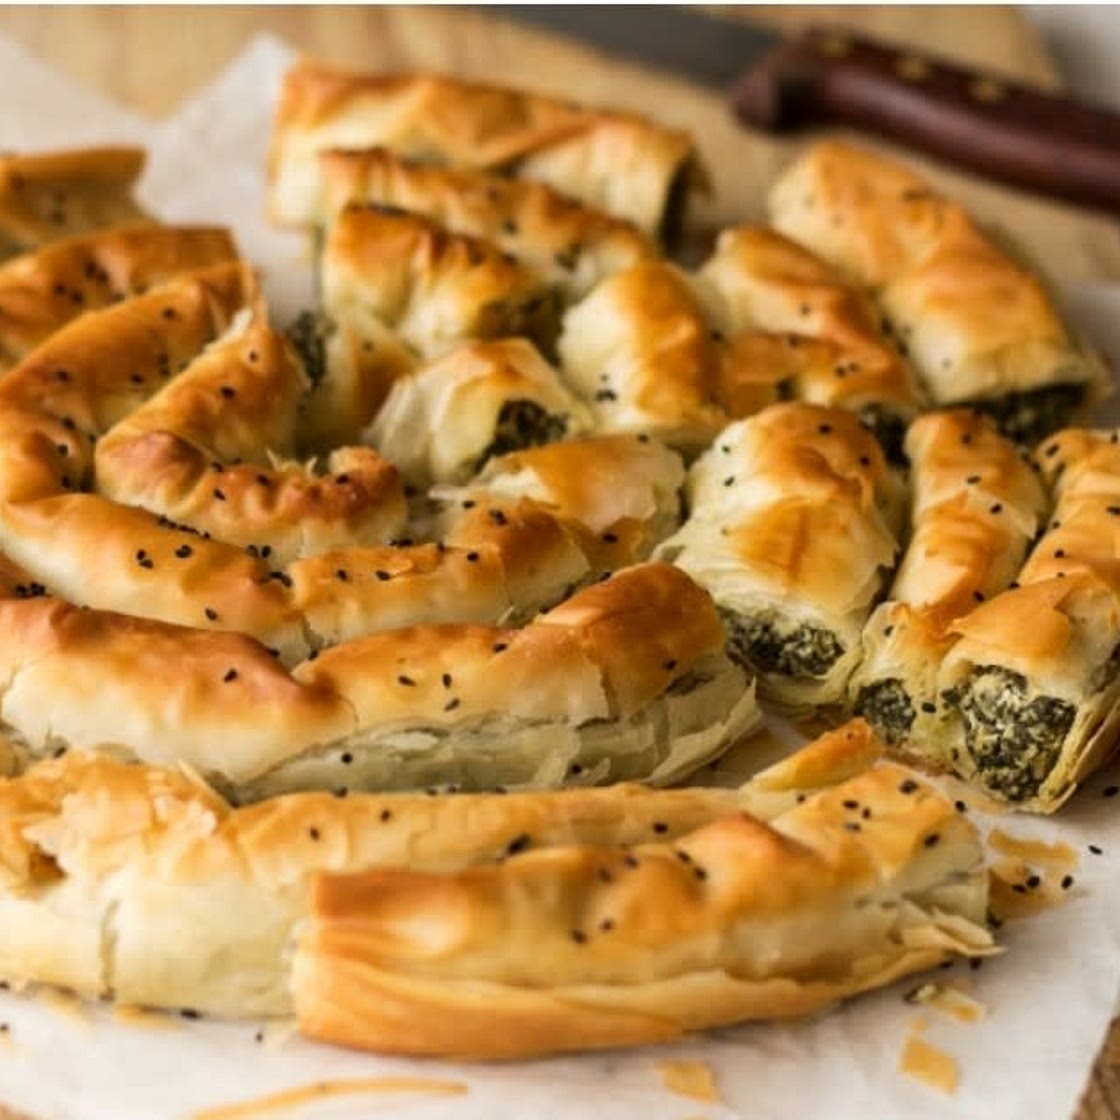
Starting from the bottom, gently roll the pastry into a long snake. Gently coil the snake, seam down, and place in the greased baking tin.
Repeat steps 8-10 with the remaining pastry, but the second time round simply overlap two (not three) sheets of pastry side by side.
Step 13
Nest this new coil in the tin tucking its beginning onto the end of the first coil.
Brush the pastry with some more olive oil and sprinkle with seeds for garnish.
Bake for approximately 45 minutes, until golden brown. Allow the pie to ‘set’ after baking before cutting into it. Store the leftovers in the fridge for 3-4 days.
Notes
1 liked
0 disliked
Crispy
Delicious
Makes leftovers
There are no notes yet. Be the first to share your experience!
